 how-to
Summer Garage Door Maintenance Tips: A 2026 Guide
Table of Contents
- Why Summer Garage Door Maintenance Matters
- Step 1: Inspect Your Garage Door and Hardware
- Step 2: Clean the Door Inside and Out
- Step 3: Clear Tracks and Remove Debris
- Step 4: Lubricate Moving Parts and Garage Door Lubrication Points
- Step 5: Test Your Garage Door Safety Sensor Test
- Complete Summer Garage Door Maintenance Checklist
- Inspect Your Garage Door Weather Seal
- Frequently Asked Questions
Last Updated: October 9, 2026
Why Summer Garage Door Maintenance Matters
Summer heat and humidity in Texas make garage door maintenance summer a critical priority, as metal expands, lubricants dry out, and debris builds up faster.
At Lone Star Garage Solutions, we've seen homeowners skip summer maintenance and face expensive repairs when the heat hits hardest.
Summer garage door maintenance tips matter because heat accelerates wear: springs lose tension, tracks collect dust and pollen, and hinges and rollers stiffen.
This guide walks you through a complete summer routine: inspect, clean, lubricate, and test your system safely. Most homeowners can handle these steps; for anything beyond your comfort level, we're here to help.
Step 1: Inspect Your Garage Door and Hardware
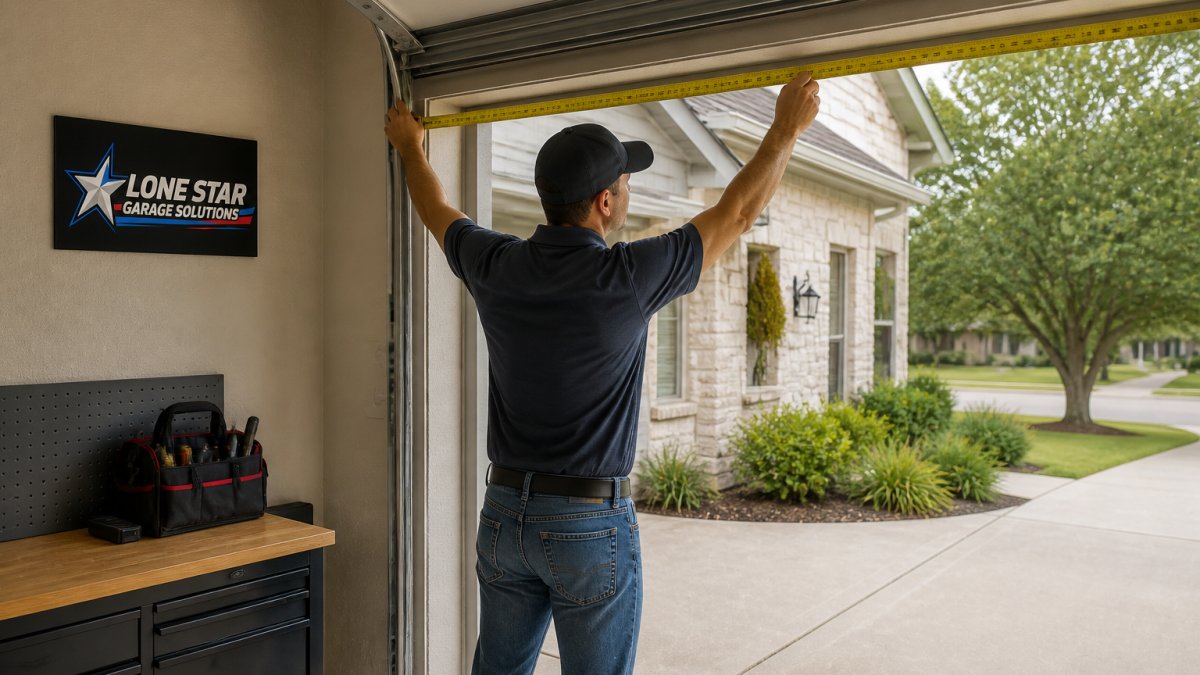
Start with a thorough visual inspection in a deliberate order, moving from the safest checks to the most cautious.
Safe visual checks (door closed):
- Walk the perimeter and look at how the door sits in the opening. Gaps, a tilted panel, or a door that doesn't sit flush can point to bent tracks or a frame that has shifted.
- Look at the bottom seal and the rubber along the sides and top. Cracked, hardened, or missing seal is common after a Texas summer.
- Check the safety sensors at the bottom of each side. Look for dust, cobwebs, or a lens that's been bumped out of alignment.
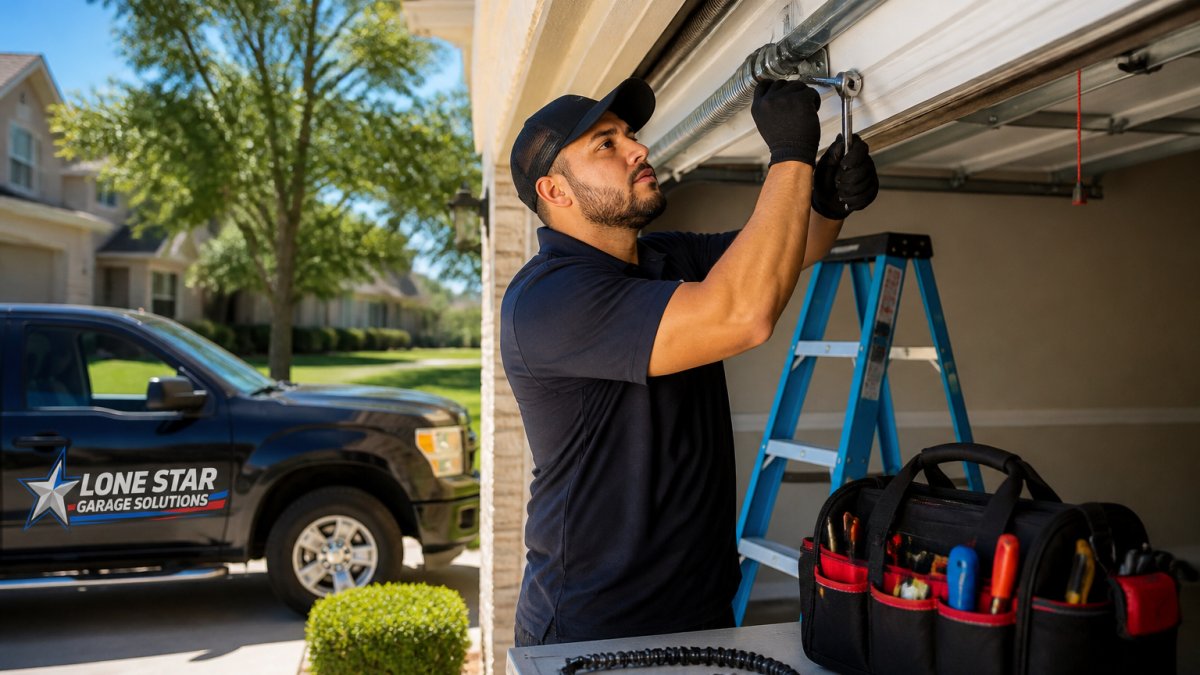
- Scan the springs, cables, and brackets with your eyes only. Note rust, gaps in a spring coil, or a cable that looks frayed or has jumped a pulley. Do not touch, adjust, or lubricate a torsion spring or its cables.
Door-position checks (door open, opener disconnected from the door):
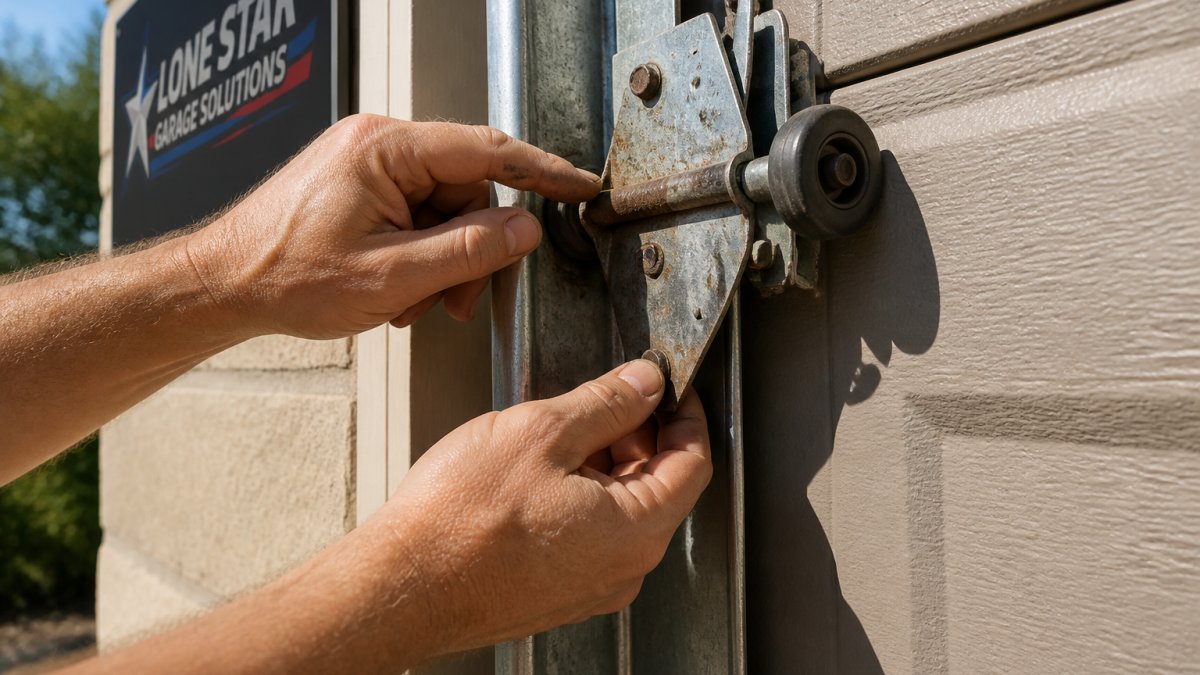
- With the door fully open and the opener released, look at the hinges, rollers, and brackets. Check hinges for rust, bending, or cracks. Check rollers for flat spots, chips, or a wheel that wobbles in its stem.
- Look at the horizontal and vertical tracks for bends, dents, or a section that's pulled away from its mounting.
- Tighten only the bolts and brackets you can reach safely with the door open and the opener disconnected. Never loosen a bracket that holds a spring, cable, or bottom fixture.
Listen while it runs. With the opener reconnected, run the door up and down and listen. Smooth and quiet is normal.
Springs, cables, and bottom brackets are under extreme tension and can cause serious injury. If you see a broken spring, a frayed or slack cable, a door that's come off its track, or a door that won't stay up when you release the opener, stop and call a professional. These are not DIY repairs.
Signs it's time to call a pro:
- A snapped torsion spring or a visible gap in a spring coil
- A cable that's frayed, kinked, or off its drum or pulley
- A door that's off track, crooked, or won't open or close fully
- A door that slams down or won't reverse when tested
- Any grinding or popping that continues after lubrication
Take photos of anything that looks worn or damaged. That way, when you call for service, you can describe exactly what you saw and where.
Step 2: Clean the Door Inside and Out
Dirt, dust, and pollen accumulate on your door all summer, trapping moisture and accelerating corrosion. Start outside: sweep away loose dirt and spider webs with a soft-bristle brush, then wash the surface with mild detergent and water.
For steel doors:
- Mix warm water with a few drops of biodegradable cleaner
- Use a soft rag or sponge, never abrasive scrubbers
- Wipe in the direction of the grain if the door has a texture
- Rinse thoroughly with clean water
- Dry with a soft cloth to prevent water spots
For aluminum or composite doors:
- Same mild detergent solution works well
- Avoid harsh chemicals that can damage the finish
- Pay extra attention to seams where dirt collects
Don't forget the inside. Wipe down the interior panels, especially the bottom edge where dirt settles, to remove grime that traps heat and moisture. While you clean, check the weatherstripping, if it's cracked, torn, or missing, it needs replacing (covered in Step 7).
Step 3: Clear Tracks and Remove Debris
Dirty tracks are one of the most common causes of sticking doors, dust, leaves, and debris jam rollers. Inspect both vertical and horizontal sections for dirt, dead insects, or buildup; summer pollen makes tracks dirty faster in Texas heat.
To clean the tracks:
- Use a stiff brush to sweep out loose debris from the entire length of both tracks
- Wipe the inside surfaces with a damp cloth to remove stubborn dust
- Use a vacuum with a brush attachment for hard-to-reach spots
- Pay special attention to horizontal sections where debris settles
- Check for standing water or moisture, which can cause rust
After cleaning, run the door up and down a few times. If it still sticks or binds, a track may be bent and need professional straightening. Never use high-pressure water on tracks, it pushes debris deeper and causes rust. Stick to brushing and wiping.
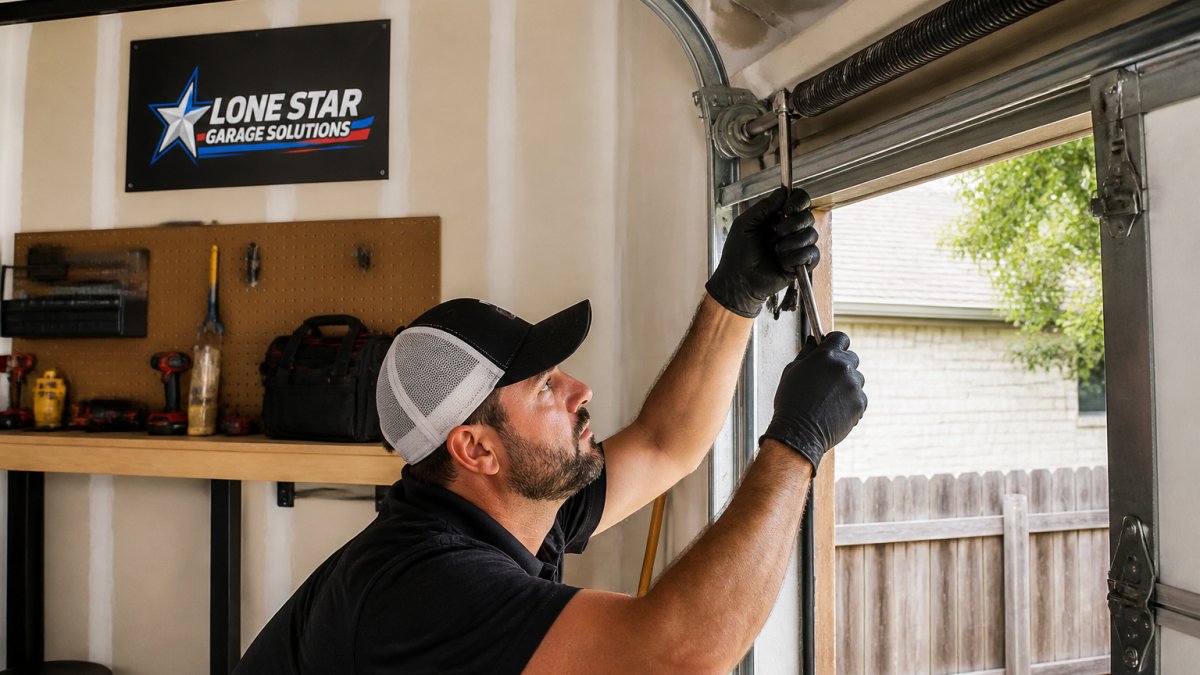
Step 4: Lubricate Moving Parts and Garage Door Lubrication Points
Proper lubrication keeps your door running smoothly and fights rust through humid summers.
Key lubrication points:
- Rollers, where the stem meets the hinge and where the wheel meets the track
- Hinges, at the pivot points
- The opener's chain or screw drive, per the manufacturer's instructions
- The opener's rail and trolley, if the manual calls for it
What to use, and what to avoid:
- Use a silicone-based or white lithium garage door lubricant. These stay put in heat and don't attract grit the way general-purpose oil does.
- Avoid WD-40 as a long-term lubricant. It's a solvent, not a lubricant, and it dries out and leaves parts unprotected.
- Avoid grease on rollers and hinges. Grease traps dust and pollen, and in summer heat it can thin and run.
- Never lubricate the tracks. Clean tracks work best dry. Lubricant in the track mixes with dust and forms a grinding paste that wears rollers out faster.
Lubrication steps:
- Open the door fully and disconnect the opener so the door is on its own.
- Apply lubricant sparingly to each hinge pivot and roller stem. A little goes a long way.
- Work the door up and down by hand a few times to spread the lubricant.
- Wipe away any excess with a clean rag.
- Repeat on both sides of the door.
Opener and remote maintenance (the part most summer checklists skip):
Your opener works harder in summer, and heat is hard on its electronics and remotes. A few minutes here saves a service call later.
- Remotes and keypads: Replace remote and keypad batteries at least once a year, and more often if the remote feels sluggish or only works up close. Keep a spare battery on hand.
- Force and travel settings: If the door reverses for no reason, stops partway, or won't close all the way, the opener's force or travel limits may need adjusting. Check your opener manual, since the procedure varies by brand and model.
- Safety eye alignment: If the opener's light blinks and the door won't close, the safety sensors are usually the cause. Clean the lenses and check alignment before assuming the opener is bad.
- Chain or belt tension: A chain that sags or slaps is usually a sign it needs adjustment. Belt drives generally need no lubrication.
Is it the opener or the door? Disconnect the opener and lift the door by hand. If it moves smoothly, the opener is likely the problem.
If your opener is more than 10 to 15 years old, or if it lacks a working safety reversal feature, it may be time to consider a replacement. Modern openers include battery backup and improved safety features that older units don't have.
If lubrication and basic opener checks don't solve the problem, or if you're not comfortable adjusting force and travel settings, contact us for a quote.
Step 5: Test Your Garage Door Safety Sensor Test
Your garage door has infrared safety sensors at the bottom on both sides. They detect objects in the door's path and reverse it, and they're critical for preventing injuries.
To perform a garage door safety sensor test:
- Open your garage door fully
- Place a cardboard box or similar object in the door's path at floor level
- Close the door using your remote or wall button
- The door should stop and reverse when it hits the object
- If it doesn't reverse, the sensors need adjustment or cleaning
Check both sensors for dirt or debris, dust and spider webs block the infrared beam. Wipe each lens with a soft, dry cloth.
If your garage door safety sensor test fails even after cleaning and alignment, the sensors may be faulty. This is a safety issue that needs professional attention. Contact us for inspection and replacement.
Complete Summer Garage Door Maintenance Checklist
Use this checklist to stay organized.
| Task | Frequency | Notes |
|---|---|---|
| Visual inspection of door and hardware | Monthly | Look for rust, damage, misalignment |
| Clean door exterior and interior | Every 2 months | Use mild detergent and soft cloth |
| Sweep and wipe garage door tracks | Monthly | Remove dirt, dust, and debris |
| Lubricate hinges, rollers, and opener | Every 3 months | Use silicone-based lubricant sparingly |
| Garage door safety sensor test | Monthly | Verify reverse function works |
| Inspect weatherstripping | Every 2 months | Check for cracks, tears, or gaps |
| Tighten loose hardware | As needed | Bolts and brackets loosen from vibration |
| Listen for unusual sounds | Every use | Grinding, squeaking, or banging = problem |
Print this garage door maintenance summer checklist and post it in your garage. Staying on top of summer garage door maintenance prevents costly repairs and keeps your family safe.
Inspect Your Garage Door Weather Seal
The weatherstripping around your garage door is your first line of defense against heat, humidity, and pests, and Texas summers are brutal on rubber seals.
Signs your weatherstripping needs replacement:
- Visible cracks or splits in the rubber
- Rubber that feels hard and inflexible when you touch it
- Gaps between the seal and the door frame
- Daylight visible around the edges when the door is closed
- Increased heat inside the garage during the day
- Insects or pests entering around the door edges
Damaged seals let hot air, humidity, and pests into your garage, making your air conditioning work harder and damaging stored items.
Summer heat makes garage door maintenance essential, not optional. A few hours of inspection, cleaning, and lubrication now prevents expensive repairs later, and most homeowners can handle these tasks safely.
If you find damage beyond basic maintenance, bent tracks, worn springs, failed sensors, or damaged weatherstripping, that's where professional expertise matters.
Frequently Asked Questions
What parts of a garage door need to be lubricated?
The main moving parts that need lubrication are the rollers, hinges, springs, and garage door opener chain or screw. Use a silicone-based lubricant or garage door-specific oil on these components. Avoid heavy grease, which attracts dust and debris. Spring lubrication is especially important in summer heat, as metal contracts and expands with temperature changes. If you're unsure about spring maintenance, contact a professional, springs are under high tension and can be dangerous to service yourself.
How often should I perform summer garage door maintenance?
Perform a thorough inspection and cleaning once in late spring before peak summer heat arrives, then again in early fall. Check for loose hardware and listen for unusual sounds monthly during summer months. Lubricate moving parts every three to six months, depending on how frequently you use your garage door. Heat and humidity in summer can speed up wear, so more frequent checks during the hot season are worth the effort to catch problems early.
Can summer heat affect my garage door opener?
Yes. Summer heat can cause lubricants to thin, making the opener work harder and wear faster. High temperatures also stress the garage door opener motor and can affect battery backup systems. Check that your opener's chain or screw is properly lubricated and that the unit is not exposed to direct sunlight if possible. If your opener is struggling or making unusual noises, have it inspected by a professional before a complete failure leaves your door stuck.
Is it safe to perform garage door maintenance myself?
Basic cleaning, track clearing, and hardware tightening are safe DIY tasks. However, do not attempt to adjust or repair springs, cables, or the opener mechanism, these are under extreme tension and can cause serious injury. If you notice worn springs, frayed cables, or opener problems, contact a professional. Many homeowners can handle inspection and lubrication of accessible parts, but when in doubt, it's better to call a technician than risk injury.