 listicle
Top 5 Garage Door Upgrades for Energy Efficiency
Table of Contents
- Why Garage Door Energy Efficiency Matters in Texas Homes
- Upgrade 1: Replace with Insulated Garage Doors
- Upgrade 2: Install or Upgrade Garage Door Weatherstripping
- Upgrade 3: Replace Garage Door Bottom Seals
- Upgrade 4: Understanding Garage Door Insulation R-Value
- Upgrade 5: Invest in a Smart Garage Door Opener
- How to Choose the Right Upgrade for Your Situation
- Frequently Asked Questions
Last Updated: October 17, 2026
Why Garage Door Energy Efficiency Matters in Texas Homes
Texas summers are brutal. An uninsulated garage door facing hours of direct sun turns your garage into a heat sink that radiates into your home, forcing your air conditioning to work harder and driving up your electric bill. Garage door energy efficiency upgrades address this problem directly.
At Lone Star Garage Solutions, we help homeowners understand that the garage door is one of the largest moving parts of your home's envelope, and how much heat transfer happens through a single-layer steel door. Upgrading your garage door for energy efficiency delivers results you'll feel in temperature stability and see in lower utility bills.
Below, we'll walk through the five most effective upgrades and help you decide which make sense for your situation.
Upgrade 1: Replace with Insulated Garage Doors
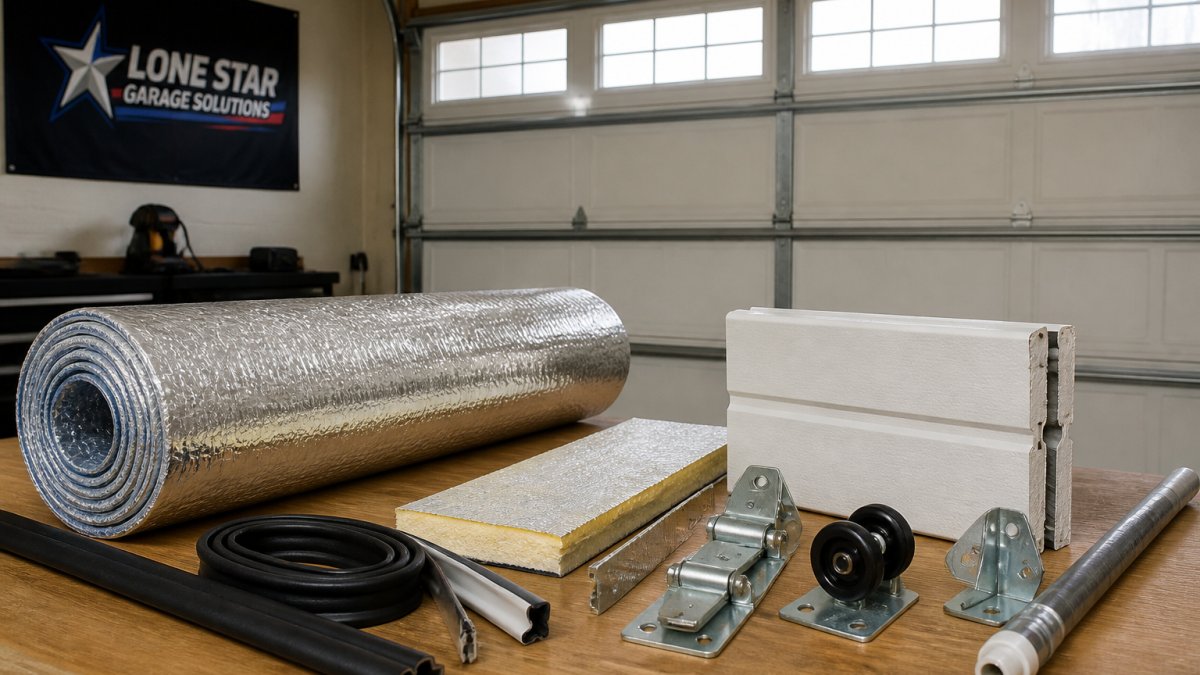
What you're buying. Insulated doors use a polyurethane or polystyrene core bonded between steel skins. Polyurethane is denser with a higher R-value per inch; polystyrene is lighter and cheaper.
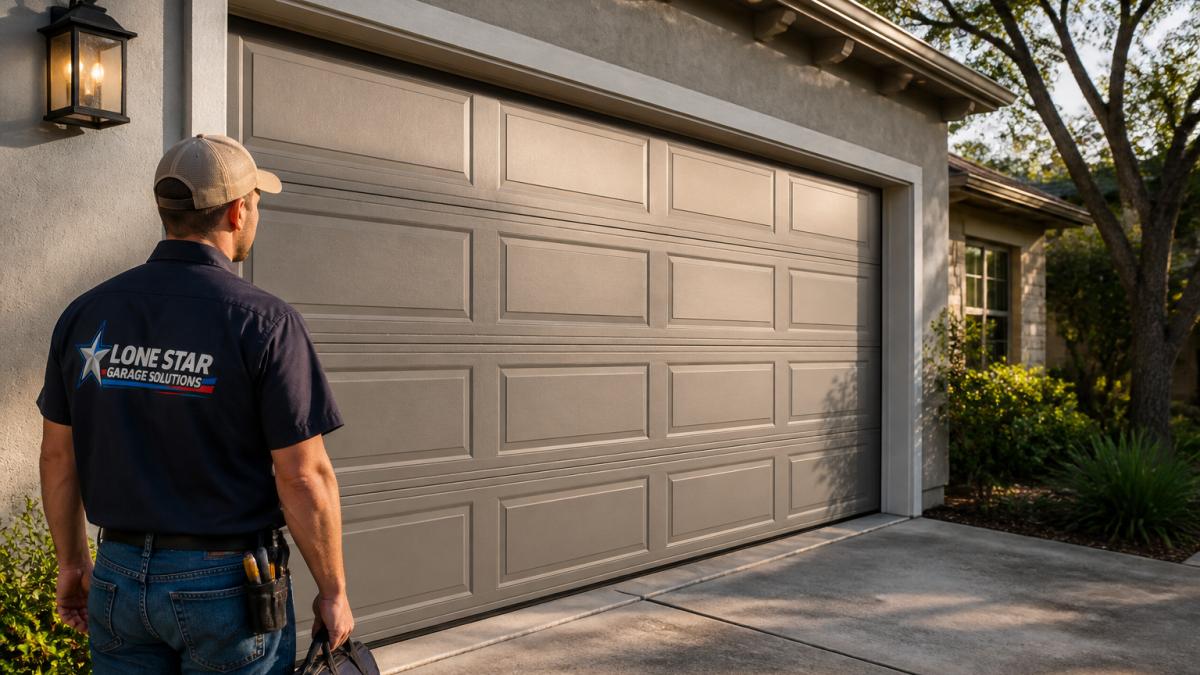
When replacement beats retrofitting. Replacement makes the most sense when at least two of these are true:
- The door is single-layer steel with no insulation and no factory provision for a kit.
- The door is damaged, dented, or has failing hardware that would need repair anyway.
- The door is at or past the end of its service life (most steel doors run 15-20 years in this climate).
- You want windows, a different style, or a full-view design that can't be retrofitted to the existing door.
- The existing door has no thermal breaks at the section joints, so a kit would only insulate the panels, not the joints.
If your door is structurally sound, has a kit-compatible panel design, and the frame and seals are in good shape, a retrofit insulation kit plus new weatherstripping can capture much of the benefit for a fraction of the cost.
How to think about cost and payback. Insulated replacement is a larger upfront investment than sealing or retrofitting, and payback varies widely by home.
Most practitioners frame garage door replacement as a comfort and durability investment first, with energy savings secondary.
What to specify. When you compare insulated doors, look beyond the panel R-value:
- Thermal breaks at every section joint, not just the panel edges.
- Insulated glass (double-pane or better) if the door has windows, single-pane windows are a thermal short-circuit.
- A bottom seal designed for your slab, including any slope or irregularity.
- Jamb seals and a header seal included in the installation scope, not sold separately.
- Hardware rated for the added weight of an insulated door, so the opener and springs are matched to the new panel.
Installation quality is the multiplier. A poorly installed insulated door underperforms a well-sealed older door.
Pros and Cons
What works: Insulated replacement solves multiple problems at once, thermal performance, durability, aesthetics, and hardware reliability.
What doesn't: Replacement is the largest upfront cost on this list, and energy payback is real but rarely dramatic enough to justify the project on utility savings alone.
Upgrade 2: Install or Upgrade Garage Door Weatherstripping
Weatherstripping seals the perimeter gaps between the door frame and the door itself. Even a small gap lets hot air flow directly into your garage, and in Texas heat those gaps add up fast.
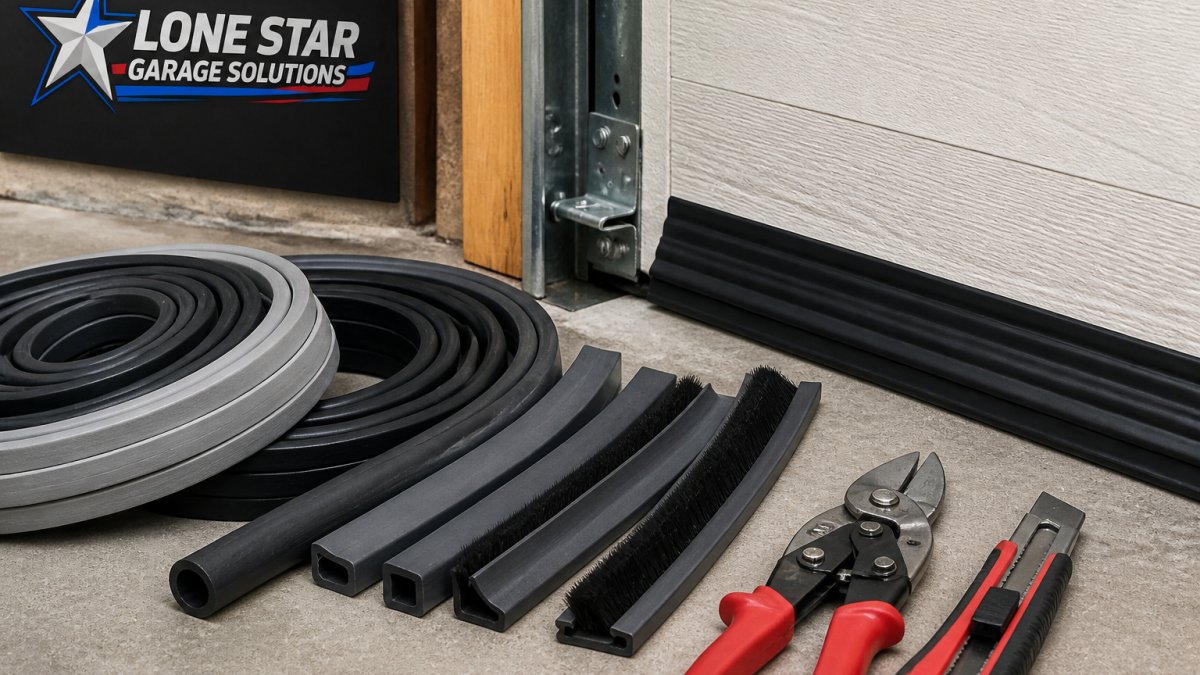
Weatherstripping comes in rubber or foam that compresses when the door closes, creating an airtight seal. The most effective coverage is all four sides, top, both sides, and bottom.
If your weatherstripping is cracked, compressed, or missing in spots, replacing it is one of the quickest, most affordable energy upgrades available, often an afternoon project with immediate results.
Pros and Cons
What works: Weatherstripping is affordable, easy to replace, and delivers fast results.
What doesn't: Weatherstripping alone won't solve the problem if your door lacks insulation, a single-layer steel door with perfect weatherstripping still conducts significant heat.
When you replace weatherstripping, inspect the door frame for cracks or warping. A damaged frame won't seal properly even with new weatherstripping. If you find frame damage, address it before installing new seals.
Upgrade 3: Replace Garage Door Bottom Seals
Your garage door's bottom seal is where the most air leakage typically occurs. The bottom sits closest to the ground, where gaps are most pronounced and weather, rain, dust, and insects hit hardest.
Bottom seals come in rubber or vinyl and attach to the door's bottom edge with a retaining channel. When the door closes, the seal compresses against the concrete floor.
Replacing the bottom seal is straightforward and one of the most cost-effective energy improvements you can make. You'll notice less dust, fewer insects, and less direct air exchange with the outdoors immediately.
Pros and Cons
What works: Bottom seal replacement is affordable, quick, and addresses the most common source of air leakage. A quality bottom seal also accommodates minor floor irregularities better than weatherstripping alone.
What doesn't: Like weatherstripping, a bottom seal works best as part of a broader energy strategy.
Upgrade 4: Understanding Garage Door Insulation R-Value
When shopping for an insulated garage door, you'll encounter two numbers used almost interchangeably in marketing, R-value and U-factor, even though they measure different things.
R-value measures thermal resistance: how well a material resists heat flow. Higher is better. Published garage door R-values typically range from about R-6 to R-18 depending on insulation type and thickness.
U-factor measures thermal transmittance, the rate at which heat passes through the entire door assembly, including frame, section joints, and windows. Lower is better.
The relationship is roughly inverse: U-factor ≈ 1 ÷ R-value, though published U-factors usually reflect the full assembly rather than center-of-panel R-value.
What R-value is right for your garage? It depends on how the garage connects to conditioned space:
- Attached garage with a room above it: This is the highest-stakes scenario. Heat rising through the garage ceiling into a bonus room or bedroom drives cooling load directly. Look for polyurethane construction in the R-12 to R-16 range, thermal breaks at every section joint, and insulated glass if the door has windows.
- Attached garage with living space on one side only: An R-9 to R-12 door with good perimeter sealing is usually sufficient, because the shared wall, not the door, is the dominant heat path.
- Detached garage: Thermal performance matters mainly for comfort and for protecting stored items from temperature swings. An R-6 to R-9 door is often adequate, and money is better spent on sealing than on a higher R-value.
The installation multiplier. R-value and U-factor describe the door as manufactured; real-world performance depends on installation.
Beware of marketing claims that lead with a single R-value and omit the U-factor, window specification, and joint-seal design. A door rated R-18 with uninsulated windows and no thermal breaks can perform worse than an R-12 door built as a complete thermal system. Ask for the whole-assembly numbers.
If you're comparing two doors with similar R-values, the tiebreaker is usually the section-joint seal and the window package. Those are the two places where heat actually gets through a well-insulated panel.
Upgrade 5: Invest in a Smart Garage Door Opener
A smart garage door opener gives you remote monitoring and control, improving both convenience and energy awareness. Modern smart openers let you close the door from your phone, receive alerts if it's left open, and monitor usage patterns.
From an energy perspective, the real benefit is awareness and control.
Some smart openers integrate with home automation systems, letting you set schedules or automate the door based on occupancy, for example, closing automatically at sunset during summer.
Pros and Cons
What works: Smart openers add convenience and real-time visibility into whether your door is secure, especially valuable with multiple household members or if you often wonder whether you closed it.
What doesn't: A smart opener doesn't directly reduce heat transfer like insulation or weatherstripping. Its energy benefit is indirect, preventing waste rather than improving thermal performance, so if you're disciplined about closing the door, savings may be minimal.
How to Choose the Right Upgrade for Your Situation
The best upgrade path depends on your current door condition, your budget, and your comfort goals. Here's how to think through the decision:
Start with an assessment. Walk around your garage door on a hot day. Feel for air leaks around the perimeter. Look at the weatherstripping, is it cracked or missing? Check the bottom seal. If your door is single-layer steel with no insulation and visible gaps, you're losing significant energy.
Prioritize by impact. If your door is old and uninsulated, insulated replacement delivers the biggest performance improvement. If it's structurally sound but has deteriorated seals, start with weatherstripping and bottom seal replacement, quick wins that cost far less.
Consider your attachment situation. If your garage is attached, efficiency improvements directly affect your home's cooling costs and comfort. If it's detached, the priority shifts toward comfort in the garage itself rather than home energy savings.
Plan for installation quality. The best door or seal performs poorly if installation is sloppy. Work with an experienced installer who understands Texas climate conditions and takes time to ensure proper sealing and alignment.
| Upgrade | Best For | Installation Complexity | Energy Impact |
|---|---|---|---|
| Insulated door replacement | Attached garages, old or damaged doors | Professional installation recommended | Highest |
| Weatherstripping | Sound doors with visible gaps | DIY-friendly | High |
| Bottom seal replacement | Air leakage at door bottom | DIY-friendly | High |
| R-value understanding | Informed door shopping | Knowledge only | Depends on door choice |
| Smart opener | Convenience and usage monitoring | Professional installation | Moderate |
Garage door energy efficiency upgrades pay dividends in a Texas climate where cooling costs drive your summer energy bills.
Frequently Asked Questions
How much can upgrading my garage door improve energy efficiency?
Upgrading to an insulated garage door, combined with weatherstripping and bottom seal replacement, can significantly reduce heat transfer through your garage. An attached garage loses considerable energy through a standard uninsulated door. Insulated doors with proper seals minimize drafts and thermal loss, which helps maintain more stable interior temperatures and reduces the workload on your home's HVAC system. The exact improvement depends on your current door condition, climate zone, and whether your garage is attached to your home.
What does R-value mean for a garage door, and why does it matter?
R-value measures a material's resistance to heat transfer. Higher R-values indicate better insulation performance. Garage doors typically range from R-0 (uninsulated) to R-18 (heavily insulated). For Texas homes with attached garages, an R-value of R-12 to R-18 provides strong thermal performance and helps maintain comfort in adjacent rooms. Understanding R-value helps you compare doors from different manufacturers and choose one suited to your climate and energy goals.
Is replacing garage door weatherstripping worth the investment?
Yes, weatherstripping is one of the most cost-effective upgrades. It seals gaps around the door frame where air leaks occur, reducing drafts and heat transfer. Worn or missing weatherstripping allows conditioned air to escape and outside air to enter, forcing your HVAC system to work harder. Replacing weatherstripping is straightforward, improves comfort immediately, and typically pays for itself through lower utility bills. It's especially valuable in Texas, where summer cooling costs are substantial.
How often should I replace my garage door bottom seal?
Bottom seals typically last 3-5 years, depending on use and weather exposure. In Texas, UV exposure, heat cycles, and humidity can accelerate wear. Signs of replacement include visible cracks, gaps between the seal and floor, or increased drafts at the base of the door. A worn bottom seal allows air, dust, and pests to enter. Regular inspection and timely replacement maintain energy efficiency and protect your garage from weather and unwanted intrusions.
Should I replace my entire garage door or just upgrade the seals and weatherstripping?
Start with weatherstripping and bottom seal replacement if your current door is structurally sound. These upgrades are affordable and improve efficiency quickly. Consider a full door replacement if your current door is uninsulated, damaged, or more than 15-20 years old. A new insulated door offers superior thermal performance, better security, and improved durability. Contact Lone Star Garage Solutions for a professional assessment of your specific situation and recommendations tailored to your home and budget.