
 how-to
Garage Door Insulation Kits for Beginners: A Step-by-Step Guide
Table of Contents
- Why Insulate Your Garage Door
- How to Measure Your Garage Door for Insulation
- Understanding Garage Door Insulation R-Value
- Types of Insulation Materials: EPS, Fiberglass, and Polyurethane
- Tools Required for Garage Door Insulation Installation
- Step-by-Step DIY Installation Process
- Common Mistakes to Avoid During Installation
- Frequently Asked Questions
Last Updated: October 4, 2026
Why Insulate Your Garage Door
A properly insulated garage door keeps temperatures stable year-round, whether your garage is a workshop, gym, storage space, or home entry point.
Insulation reduces heat transfer: in summer, less heat enters your garage and your AC works less; in winter, warm air stays inside longer. The result is a more comfortable space and lower energy bills.
Insulation also dampens noise from traffic, wind, and weather, especially valuable if your garage is near a street or used as a workspace.
Insulated garage doors are also heavier and more rigid, which puts additional stress on your garage door springs and cables. If your current door is older, adding insulation later might require reinforcing those components. This is why understanding the weight impact matters before you start.
How to Measure Your Garage Door for Insulation
Accurate measurements are the foundation of a successful installation. Measure twice, order once, this principle saves money and frustration.
Gathering Your Measurements
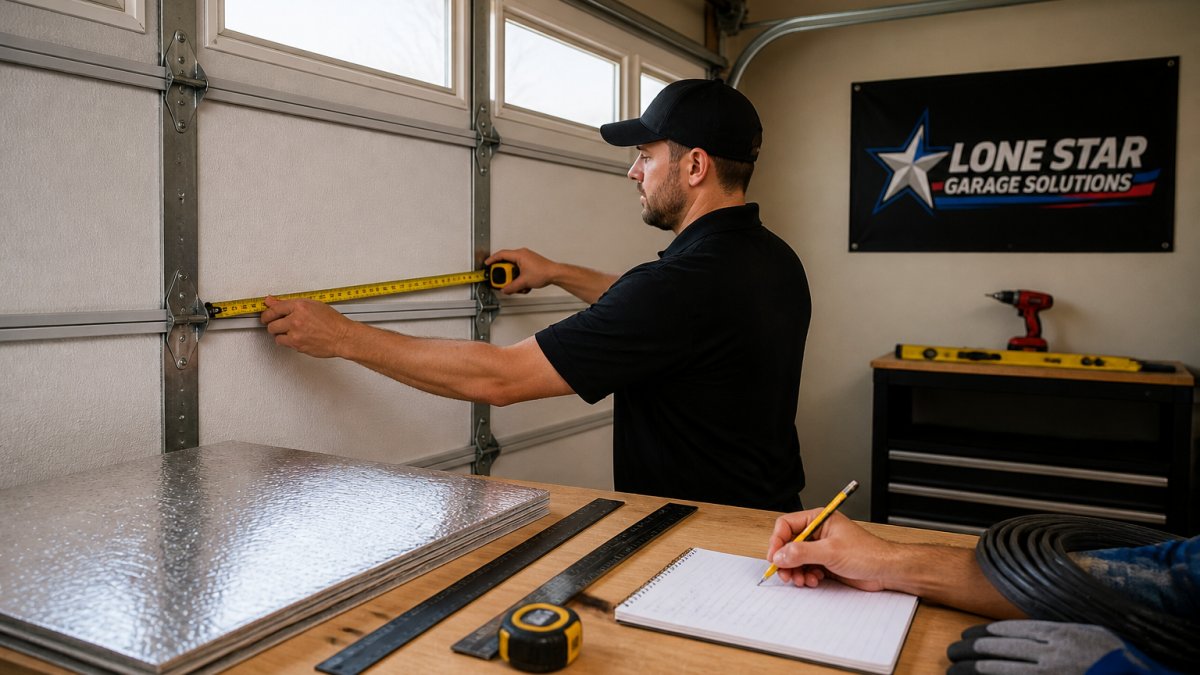
Measure the door's width and height in inches, and write them down.
Measure panel thickness (most standard doors are 1.5 to 2 inches) to confirm insulation kits will fit without interfering with door operation.
Measure clearance above the door for low ceilings or pipes, since insulation adds depth.
Accounting for Panel Layout
Count your door's horizontal panels (most residential doors have 4 to 8 stacked vertically).
Measure a single panel's width and height (standard panels are roughly 48 inches wide and 18 to 24 inches tall). Insulation kits are sold by panel count, so exact measurements prevent ordering errors.
Note any non-standard panels (decorative or narrower top panels), as you may need to trim material to fit them when selecting a garage door insulation kit.
Understanding Garage Door Insulation R-Value
R-value measures thermal resistance, how well a material resists heat flow. Higher R-values mean better insulation. For garage doors, R-values typically range from R-4 to R-18.
In Texas, R-8 to R-12 provides meaningful temperature control without excessive cost. Choose R-12 or higher for conditioned garages; R-8 for storage spaces.
Polyurethane foam offers higher R-values per inch than fiberglass or EPS, delivering better insulation in a thinner package, important for tight clearances.
Higher R-value isn't always better: R-18 may be overkill for an unheated storage garage. Higher R-value kits add weight, straining springs and cables.
Types of Insulation Materials: EPS, Fiberglass, and Polyurethane
Three main materials dominate garage door insulation kits: expanded polystyrene (EPS) foam, fiberglass batting, and polyurethane foam.
EPS foam is the most affordable option, lightweight, easy to cut, and rigid. The downside: lowest R-value per inch of thickness, so thicker panels are needed for comparable performance. Most kits include a moisture barrier.
Fiberglass batting is inexpensive and widely available in rolls or batts. It can settle over time, reducing effectiveness, and requires careful handling, wear gloves, a mask, and long sleeves to avoid skin and lung irritation. It provides moderate R-value and is a good middle-ground option for budget-conscious homeowners.
Polyurethane foam offers the highest R-value per inch of thickness. It's rigid, durable, and resists moisture well. Polyurethane kits are more expensive than EPS or fiberglass, but they deliver superior insulation in a thinner package. If your garage has tight clearance or you want maximum energy efficiency, polyurethane is the best choice. Many premium garage door insulation kits use polyurethane with a reflective foil facing that adds a radiant barrier, particularly useful in hot climates.
For Texas homeowners, polyurethane with reflective backing performs well during hot summers. The reflective layer bounces heat away before it enters the garage. EPS is a solid budget alternative if cost is the primary concern.
Tools Required for Garage Door Insulation Installation
Before you start, gather the right tools. Most garage door insulation kits for beginners require basic equipment.
You'll need a utility knife with fresh blades for cutting insulation material cleanly. Dull blades tear fiberglass and crush foam. A measuring tape (at least 25 feet) ensures accurate cuts. A level helps confirm your door is square and hanging properly, misaligned doors can cause uneven insulation fit.
A caulking gun applies adhesive backing or sealant around panel edges. Some insulation kits come with peel-and-stick backing; others require you to apply adhesive separately. Have a screwdriver set (Phillips and flathead) for any hardware adjustments.
Safety gear matters. Wear safety glasses to protect your eyes from dust and debris. If you're working with fiberglass, wear heavy-duty gloves, a dust mask or respirator, and long sleeves. Fiberglass particles are irritating and can cause respiratory issues with prolonged exposure.
A step ladder gives you safe access to upper panels. Never stand on a ladder directly under a garage door, if the door falls, serious injury can result. Work when the door is fully open and secure.
Have painter's tape on hand to mark measurements and protect areas you don't want to cut. A straightedge or level helps you score straight lines on foam before cutting.
Step-by-Step DIY Installation Process
Preparing Your Garage Door
Start by opening your garage door fully and securing it in place. Use a C-clamp or locking pliers on the track to prevent accidental closure. Never work under a garage door that isn't fully secured.
Clean the inside surface of each panel with a dry cloth or soft brush. Remove dust, cobwebs, and debris. The adhesive on your insulation kit bonds better to a clean surface. Pay special attention to the edges and corners where dust accumulates.
Inspect the panels for damage. Small dents or dings are fine, but large cracks or warping should be addressed before insulation is applied. Damaged panels can trap moisture behind the insulation, leading to rust and deterioration.
Lay out all your materials before you begin. Organize insulation panels by size, lay out your adhesive, and arrange your tools within easy reach. This prevents fumbling mid-project and reduces the chance of mistakes.
Installing Insulation Panels
Start with the bottom panel and work upward. This way, completed panels support the weight of panels above them as adhesive cures.
Measure the panel dimensions carefully. Mark your insulation material with a pencil or chalk line. Use your utility knife to cut straight, clean edges. For EPS and polyurethane, one firm pass with a sharp blade works better than multiple cuts.
Apply adhesive to the back of the insulation panel if it doesn't have peel-and-stick backing. Follow the manufacturer's instructions for coverage, typically a grid pattern or perimeter application. Don't apply adhesive too heavily, as excess can squeeze out and create a mess.
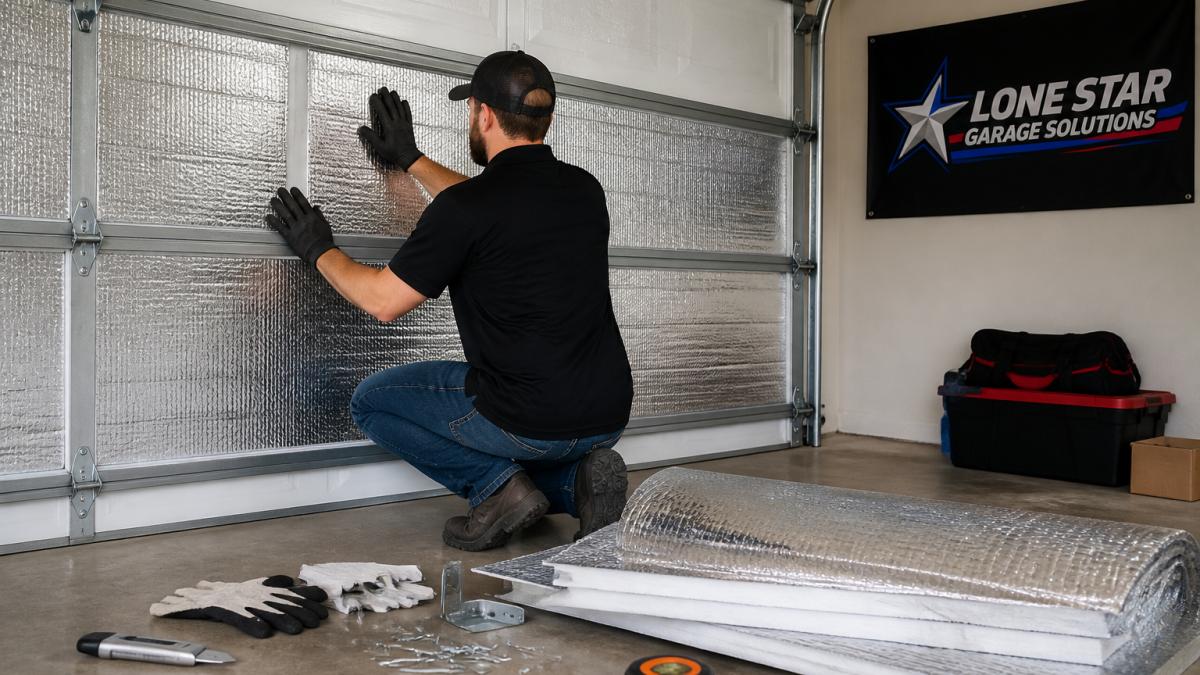
Press the insulation firmly into place on the garage door panel. Start in the center and work outward, smoothing as you go to remove air pockets. Hold pressure for 30 seconds to 1 minute, depending on the adhesive type.
Allow adhesive to cure according to package directions before moving to the next panel. Most adhesives require 24 hours of cure time before the door is operated. Don't rush this step, premature door operation can dislodge panels.
Sealing and Testing
Once all panels are installed and adhesive is fully cured, seal the gaps between panels and around the edges. Use weatherstripping tape or caulk designed for garage doors. Sealing prevents air leaks and improves energy efficiency.
Apply weatherstripping around the perimeter where the door meets the frame. This closes gaps that let conditioned air escape. Pay special attention to the sides and bottom of the door.
Test your garage door operation carefully. Open and close it several times slowly, watching for any binding or unusual resistance. The door should move smoothly without hesitation. If you notice grinding sounds or increased effort, stop and inspect. The insulation may be interfering with the door's movement or the springs may be under excessive strain.
Check that all panels are secure and haven't shifted. Look for gaps between panels or any separation from the door frame. Small gaps are normal, but large ones indicate adhesive failure or improper installation.
Monitor the door's performance over the next week. Listen for any new sounds and feel for changes in temperature inside the garage. Properly installed insulation should feel noticeably warmer in winter and cooler in summer compared to before.
Common Mistakes to Avoid During Installation
Measuring incorrectly is the most expensive mistake. Many homeowners measure only the outer dimensions and forget to account for panel depth or door curvature.
Choosing the wrong R-value for your climate wastes money or delivers poor results. Texas heat demands at least R-8 for meaningful cooling benefit.
Ignoring spring and cable condition before adding weight is dangerous. Worn springs can snap when asked to support a heavier door.
Applying insulation to a misaligned door creates binding and operation problems. Confirm your door opens and closes smoothly before you start.
Using too much adhesive squeezes out and creates a sticky mess. It also prevents proper contact between the insulation and the panel surface.
Failing to seal gaps between panels defeats much of the insulation benefit. Air leaks around unsealed edges let conditioned air escape.
Skipping safety precautions with fiberglass leads to discomfort and health issues. Fiberglass particles cause itching, respiratory irritation, and can embed in skin. Wear protective gear every time you handle fiberglass insulation.
Insulating your garage door is a manageable project for most homeowners, but it requires careful planning and attention to detail.
If you're uncertain about your garage door's condition or whether your springs can handle additional weight, that's the right time to call a professional.
Frequently Asked Questions
Do garage door insulation kits actually work in extreme heat?
Yes, garage door insulation kits reduce heat transfer significantly, especially in hot climates. By adding thermal resistance (R-value), insulation slows how quickly outdoor heat enters your garage. In Texas summers, this can lower interior temperatures by 5-10 degrees, reducing strain on HVAC systems and improving comfort. Fiberglass and polyurethane options perform best in high heat; EPS foam is also effective but slightly less resistant to extreme temperatures. Results depend on proper installation and sealing around edges to prevent air leaks.
What type of insulation is easiest to install for a beginner?
EPS foam panels are the easiest for beginners because they're lightweight, cut simply with a utility knife, and attach with adhesive backing, no special fasteners needed. Fiberglass batting is also beginner-friendly but requires more careful handling to avoid irritation. Polyurethane spray foam offers excellent coverage but demands more skill and equipment. Start with adhesive-backed EPS if this is your first project; the process takes 2-4 hours for a standard two-car door and requires only basic tools.
Will insulating a garage door affect the balance and operation of the door?
Insulation does add weight to your garage door panels, which can stress older torsion springs over time. However, modern garage door insulation kits are designed to be lightweight, and the added weight is usually manageable for springs in good condition. Before installing insulation, inspect your springs for rust or damage, if they're worn, have them serviced first. After installation, test the door's balance by disconnecting the opener and manually lifting it halfway; it should stay level. If the door feels heavy or unbalanced, contact a professional to assess your spring condition.
What tools do I need for garage door insulation installation?
Basic garage door insulation installation tools include a measuring tape, utility knife, straightedge, safety glasses, and work gloves. You'll also need a caulking gun if using adhesive sealant, and a level to ensure proper alignment. For fiberglass batts, wear a dust mask and long sleeves. Most kits come with adhesive backing, so you won't need power tools. Gather these items before starting, having everything ready prevents delays and ensures cleaner, safer work throughout the project.