 how-to
Lifestyle Garage Screen Installation in Texas: A Practical Guide
Last Updated: November 7, 2026
Quick Summary
A lifestyle garage screen installation in Texas involves confirming accurate opening measurements, mounting a spring-loaded cassette into solid framing or masonry, installing level side tracks, seating the screen and bottom bar, and running full test cycles. Accurate measurements matter most, since an off-square screen can sag, leave gaps, or fail to retract. Homeowners may install one themselves on a simple opening, but professional installation suits tight headroom, damaged frames, or masonry walls.
- Measure width and height at three points each, and measure every dimension at least twice.
- Mount the cassette into framing or masonry, never drywall or trim alone, to prevent it pulling loose.
- Recheck level after every few fasteners, since an off-level cassette makes the screen drift to one side.
- Follow the manufacturer's tension procedure exactly, because tension springs can release suddenly.
- Run at least ten full open-and-close cycles and check for even travel, latching, and side sealing.
Table of Contents
- What a Retractable Garage Door Screen Is and How It Works
- Garage-to-Outdoor Living, Ventilation, and Pest Protection
- Measuring Your Garage Opening and Checking Compatibility
- How to Install a Lifestyle Garage Door Screen, Step by Step
- Tools and materials to have on hand
- Step 1: Reconfirm measurements and substrate
- Step 2: Lay out the cassette position
- Step 3: Mount the top cassette
- Step 4: Install the side tracks
- Step 5: Seat the screen and bottom bar
- Step 6: Set tension and alignment
- Step 7: Test full cycles and seal
- How long it takes
- DIY installation versus professional installation
- Lifestyle Garage Screen Installation Cost: What Affects Your Quote
- Troubleshooting, Maintenance, and Warranty Questions
- Requesting a Quote for Your Garage Screen in Central Texas
- Frequently Asked Questions
What a Retractable Garage Door Screen Is and How It Works
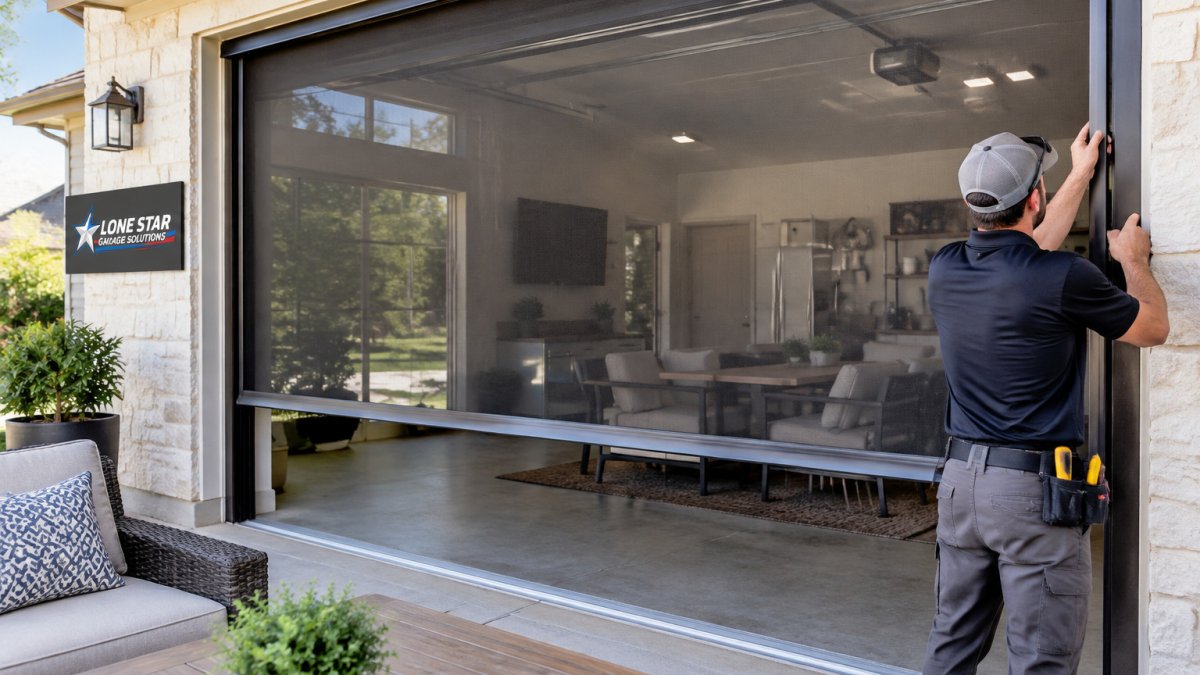
A retractable garage door screen is a mesh panel that rolls up and down over your garage opening, much like a window screen that you can pull out of the way. Lifestyle garage screens are one popular type.
Homeowners often choose a lifestyle garage screen to turn a hot, closed-off garage into a comfortable space they can actually use.
How the Spring-Loaded Screen Operates
The screen rolls onto a spring-loaded cassette mounted at the top of the opening. Pulling the screen down unwinds it, and the spring keeps tension so it retracts smoothly when you let go.
Here is what to know about the basic parts:
- Cassette: Houses the spring and mesh roll at the top
- Side tracks: Guide the screen edges so it stays flat and sealed
- Bottom bar: Weighs the screen down and locks it in place
Because the spring does the heavy lifting, most adults can operate the screen with one hand. If the screen feels stiff or won't retract, check the tracks for dirt or debris before calling for help.
Garage-to-Outdoor Living, Ventilation, and Pest Protection
A screened garage gives you a practical middle ground between indoors and outdoors. You can work in the garage with airflow, keep a patio-style space near the house, and still keep bugs out.
Many homeowners find that the biggest benefits are:
- Fresh air: Open the garage without inviting insects inside
- Less heat buildup: Moving air helps during Texas summers
- Pet and kid friendly: Pets can come and go more safely than with a fully open door
For more on how garage screen types compare for pets and uneven frames, see our guide to lifestyle garage screens vs magnetic curtains. For insect-focused options, our breakdown of the best garage screen systems for pest control is a helpful next read.
Measuring Your Garage Opening and Checking Compatibility
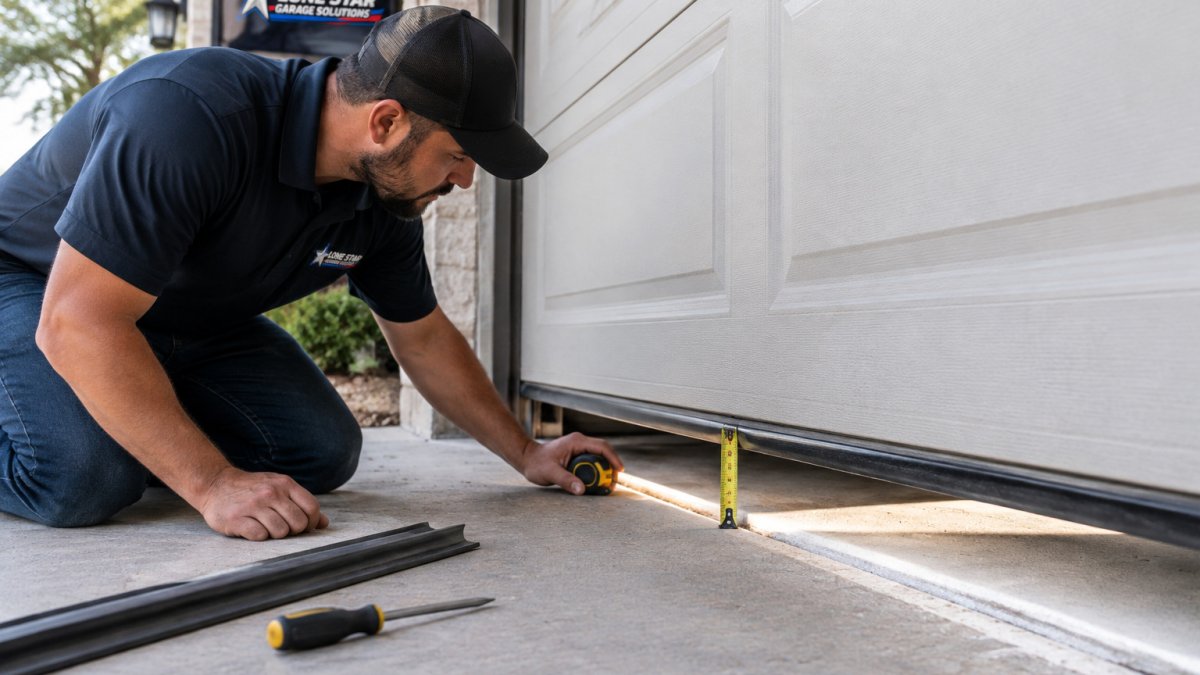
Accurate measurements matter more than anything else for a lifestyle garage screen installation. A screen that is even slightly off can sag, leave gaps, or fail to retract properly.
Measure the opening
Before you order, measure these items:
- Width: Measure across the opening at the top, middle, and bottom
- Height: Measure from the floor to the top of the opening at the left, center, and right
- Headroom: Check the space above the opening for the cassette, including clearance for the garage door's top panel and hardware
- Side clearance: Note any trim, brackets, downspouts, or walls that could block the tracks
- Door type: Note whether you have a sectional, roll-up, or other door style, and where the opener, springs, and sensors sit
Take measurements in inches and write them down. Measure each dimension at least twice. If your opening is not square, use the largest width and height as your reference and note the difference so the installer knows what they are working with.
Texas conditions that affect screen selection
A few things to weigh for a garage:
- Heat and sun exposure: A west- or south-facing opening takes the most afternoon sun. Mesh density and frame finish both affect how the screen holds up and how much heat it blocks.
- Wind and storms: Strong winds can affect any garage opening. Check how the bottom bar locks and how securely the side tracks are fastened.
- Insect pressure: Mosquitoes, flies, and small insects are a real issue most of the year. A tighter mesh keeps more out but cuts airflow, so match mesh density to how you plan to use the space.
Compatibility checks
Compatibility can depend on your existing setup, including:
- Low headroom above the opening
- Uneven or damaged door frames
- Lights, sensors, or openers mounted near the tracks
If you are unsure whether your garage will work, the How to Measure Your Garage for Retractable Screens guide walks through each step in detail. For a local read on your specific opening, contact Lone Star Garage Solutions and we can talk through what your garage needs before you order.
How to Install a Lifestyle Garage Door Screen, Step by Step
The walkthrough below covers the general sequence of measurements and checkpoints. Your installer may follow a slightly different order based on the system.
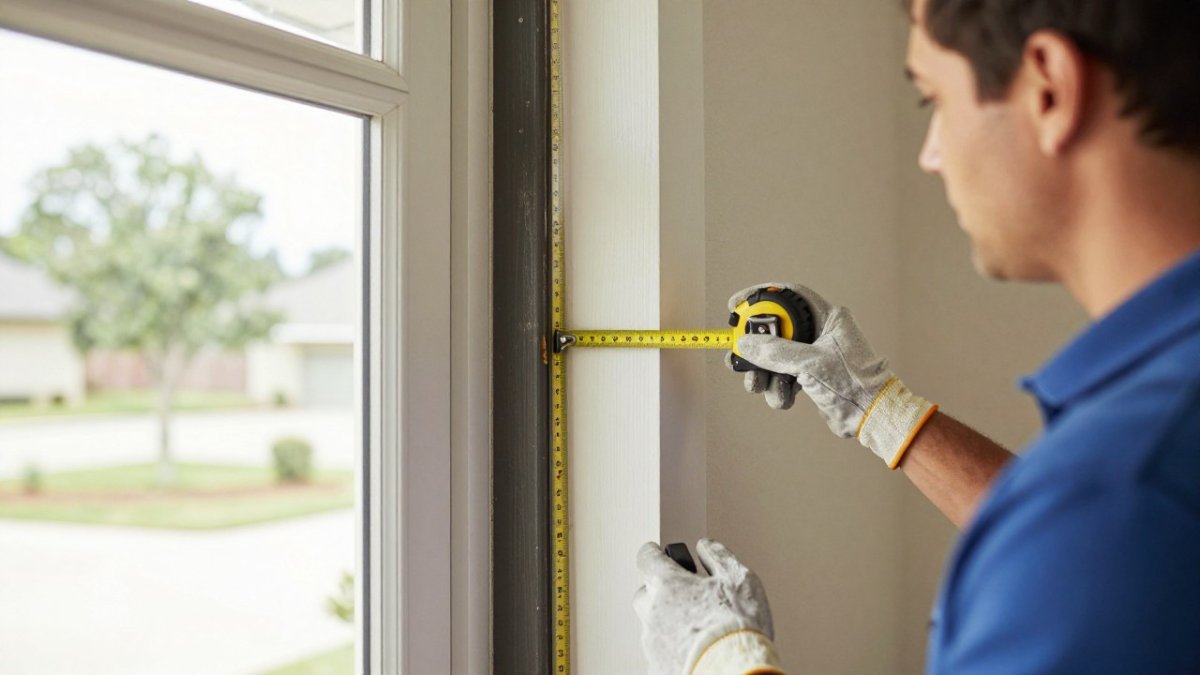
Tools and materials to have on hand
- Tape measure and pencil
- 4-foot and 2-foot levels
- Stud finder
Step 1: Reconfirm measurements and substrate
Measure the opening width at the top, middle, and bottom, and the height at the left, center, and right. Write down the largest width and the largest height. Then use a stud finder to confirm where solid framing sits above the opening and along each side.
Watch out: Mounting into drywall alone can cause a cassette to pull loose.
Step 2: Lay out the cassette position
Mark the height of the cassette on the wall above the opening. Confirm the cassette clears the garage door's top panel through its full travel and does not interfere with the opener rail, torsion bar, or springs. Check headroom against the manufacturer's minimum for your model before you drill anything.
Step 3: Mount the top cassette
With a helper, lift the cassette into position and tack it in place with one fastener at each end. Check level across the full width, then drive the remaining fasteners into framing or masonry. Recheck level after every few fasteners, since a cassette that is off level will make the screen drift to one side.
Step 4: Install the side tracks
Set each track plumb using a level and confirm the two tracks are parallel to each other and square to the cassette. Fasten through the track holes into framing or masonry. Leave the track-to-wall gap consistent top to bottom so the screen edge seals evenly.
Step 5: Seat the screen and bottom bar
Feed the screen edges into the tracks and attach the bottom bar per the manual. Pull the screen down slowly by hand the first time and watch both edges for even travel. If one side leads the other, stop and adjust the track before continuing.
Step 6: Set tension and alignment
Follow the manufacturer's tension procedure exactly. Most systems are pre-tensioned at the factory and only need minor adjustment. Make small changes and test after each one.
Watch out: Tension springs store energy and can release suddenly. If the manual calls for winding or adjusting the spring, and you are not confident, stop and call a professional.
Step 7: Test full cycles and seal
Run the screen through at least ten full open-and-close cycles. Check that it latches at the bottom, retracts fully into the cassette, and seals along both sides. Look for rubbing, sagging, or a bottom bar that does not sit flat. Seal the track-to-wall joint with caulk if the manual calls for it.
How long it takes
Double openings, masonry walls, low headroom, or framing repairs can add time. Plan for a second person, since the cassette is awkward to hold and fasten alone.
DIY installation versus professional installation
Some handy homeowners install a screen themselves, and it can work well on a simple opening with solid framing and clear headroom.
Professional installation makes sense when:
- The opening is out of square or the frame is damaged
- Headroom is tight or the garage door hardware crowds the cassette area
- The wall is brick, block, or stucco and you do not have masonry tools
If you would rather have it measured and installed correctly the first time, contact Lone Star Garage Solutions for a quote on your New Braunfels or Central Texas home.
The table below summarises the main installation steps, what each one involves, and the time or checkpoint it calls for.
| Step | What to do | Time or checkpoint |
|---|---|---|
| 1. Reconfirm measurements | Measure width and height at three points each; confirm framing | Measure each dimension at least twice |
| 2. Lay out cassette | Mark cassette height; check door clearance | Check manufacturer's minimum headroom |
| 3. Mount top cassette | Fasten into framing or masonry | Recheck level after every few fasteners |
| 4. Install side tracks | Set plumb and parallel; fasten to wall | Keep track-to-wall gap even top to bottom |
| 5. Seat screen and bottom bar | Feed edges into tracks; attach bottom bar | Watch both edges for even travel |
| 6. Set tension and alignment | Follow manufacturer's tension procedure | Make small changes and test after each |
| 7. Test full cycles and seal | Run the screen through cycles and check sealing | At least ten full open-and-close cycles |
Lifestyle Garage Screen Installation Cost: What Affects Your Quote
The installed price depends on several factors, including pricing that depends on quantity, dates, and delivery. Your quote will reflect the details of your opening and the system you choose.
Common factors include:
- Size of the opening: Wider and taller openings need larger, heavier components
- Screen options: Frame color, mesh type, and built-in passage doors change the price
- Site conditions: Framing repairs, low headroom, or electrical work add to the labor
For current pricing on your specific garage, visit the Lone Star Garage Solutions website or contact us directly. Lone Star Garage Solutions can walk you through the options that fit your budget.
Troubleshooting, Maintenance, and Warranty Questions
Most screen problems come from dirt, misalignment, or worn parts. A little regular care keeps the screen running well.
Quick checks you can do yourself:
- Clean the tracks every few months to remove dirt and debris
- Check the mesh for tears or loose edges
- Listen for binding and look for rubbing along the sides
If the screen sags, sticks, or will not lock in place, stop using it and have it inspected.
Ask about the warranty before you buy. Coverage details differ by product and by installer, so get the terms in writing.
Requesting a Quote for Your Garage Screen in Central Texas
The easiest next step is to measure your opening, note your garage door type, and ask for a quote. Our team at Lone Star Garage Solutions serves New Braunfels and nearby Central Texas communities, and we can help you choose the right screen for your space.
Before you reach out, you might find it useful to design a garage door or Lifestyle screen and preview an estimated price using a photo of your home. When you're ready, request a quote for your Lifestyle garage screen and we'll follow up to talk through your options.
Frequently Asked Questions
How much does it cost to install a Lifestyle garage door screen?
Installation cost depends on the size of your garage opening, the screen model you choose, the condition of your existing garage door, and whether mounting hardware needs adjustment. Lone Star Garage Solutions does not publish set prices for this work because every opening is measured individually. The best way to get an accurate number is to request a quote, which lets a technician check your opening and explain every line item before any work begins.
Can a Lifestyle garage screen be installed on an existing garage?
In most cases, yes. Retractable garage door screens are designed to mount to an existing garage opening, but the opening must have enough headroom and clear space along the walls and ceiling for the spring-loaded housing and screen track. Older garages or openings with unusual framing may need adjustments. A measurement and inspection before purchase helps confirm compatibility and avoids surprises during installation.
How do you measure a garage opening for a retractable screen?
Measure the width and height of the opening at several points, since many older openings are not perfectly square. Check the headroom above the opening and the clearance on each side for the screen housing and track. Record the smallest measurements, and confirm them with the manufacturer's sizing guide before ordering. Measure twice, because a screen cut to the wrong size cannot be trimmed to fit.
How do you maintain a Lifestyle garage screen?
Keep the screen track clear of dirt and debris, wipe the mesh gently with mild soap and water, and check that the screen retracts and extends smoothly. Look for loose fasteners, worn tracks, or signs of stress on the spring mechanism. If the screen binds, sags, or stops retracting, stop using it and have it inspected, since forcing a damaged spring-loaded system can cause further damage.