 how-to
How to Add Windows to an Existing Garage Door
Last Updated: November 6, 2026
Quick Summary
Yes, you can add garage door windows to many existing doors, especially steel or wood panel doors with enough flat area to cut and reinforce. Insulated doors need extra care, and doors with thin panels, hardware in the way, or warranty limits may not be good candidates.
- Steel and wood panel doors are usually the easiest candidates for a window retrofit.
- Insulated doors need extra care because cutting the foam core weakens the panel and lowers insulation.
- Reinforce the panel around the opening so it stays rigid as the door cycles.
- Check the spring balance after installation, since the added weight can strain springs and the opener.
- Check your owner's manual and warranty before cutting, since modifications can void coverage.
Table of Contents
- Can You Add Windows to an Existing Garage Door?
- Check Your Door Type and Panel Compatibility First
- Choosing Window Size, Shape, and Placement
- Tools, Materials, and a Garage Door Window Kit
- How to Install Garage Door Window Inserts, Step by Step
- Garage Door Window Replacement and Long-Term Maintenance
- Booking Your Garage Door Window Project With Lone Star Garage Solutions
- Frequently Asked Questions
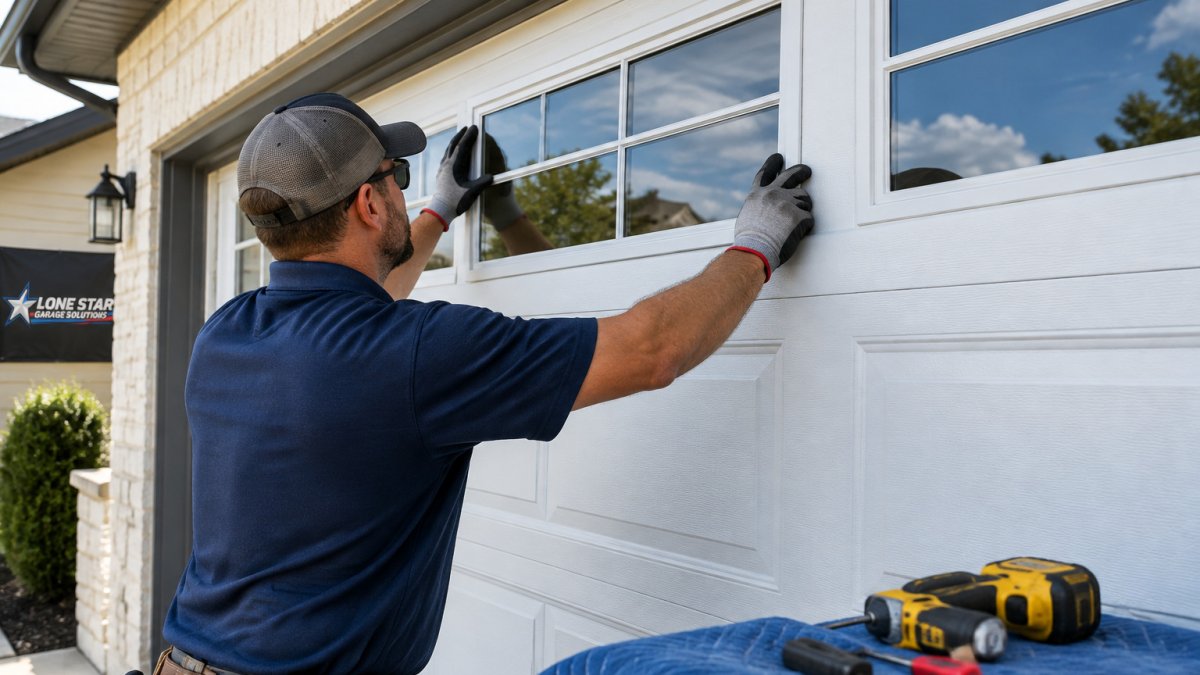
Adding garage door windows is one of the most popular upgrades homeowners make, and it can be done on many existing doors. The short answer is yes, in many cases, but only if your door's panels, construction, and springs are right for the job.
A window insert adds natural light, a finished look, and a bit of curb appeal to your garage door windows setup. It also changes the door's weight and how the panel holds together, so it is not a simple swap. Some doors take a window kit easily.
Can You Add Windows to an Existing Garage Door?
In most cases, you can add windows to an existing garage door if the door is built in a way that allows the panel to be cut and reinforced. Steel panel doors and many wood doors are common candidates. Insulated doors often need extra care because cutting into the foam core can weaken the panel and reduce its insulation value.
Not every door works. Some doors have panels that are too thin, have hardware in the way, or are covered by a warranty that forbids modifications. Check your owner's manual and warranty before you cut anything.
- Usually possible: Steel or wood panel doors with an open area to work with
- Harder: Insulated doors where the foam core runs through the window area
- Often not worth it: Very old, rusted, or damaged doors that need replacement anyway
Check Your Door Type and Panel Compatibility First
Before you buy a kit, look at the door itself. Find the model number, the panel style, and whether the door is insulated. Your door's construction decides whether a window is a simple project or a costly one, and in some cases, whether it should be done at all.
How door construction affects window retrofits
Steel panel doors. The most common candidate for a retrofit. Standard 24- or 25-gauge steel panels can usually be cut cleanly with a jigsaw and reinforced with a frame or backer.
Aluminum doors. Common on older and lighter-weight doors. Aluminum cuts easily but dents and distorts under heat, so a frame that clamps too tightly can warp the panel.
Wood doors. The most forgiving material for a retrofit. Solid wood and wood-composite panels can be cut, sanded, and refinished around the opening.
Insulated doors. These have a foam core bonded between two steel skins. Cutting through the foam exposes the core, reduces the panel's R-value in that area, and can weaken the bond between the skins. Some manufacturers sell window kits designed specifically for their insulated panels, with a frame that bridges the cut and restores rigidity.
Non-insulated doors. Easier to cut, but the single skin is thinner and flexes more.
When a retrofit is not advisable
- The panel is too thin or already flexes. If the panel bows when you press on it, cutting an opening will make it worse.
- Hardware sits in the window area. Hinges, struts, and lift handles cannot be moved without affecting the door's operation.
- The door is very old, rusted, or damaged. A door that needs replacement anyway is not a good candidate for a window kit.
- The warranty forbids modification. Many manufacturers void the door warranty if panels are cut outside factory-approved kits. Check the owner's manual and warranty before you cut anything.
- The door is out of balance. Adding weight to an already strained spring system is a safety issue, not a cosmetic one.
Torsion and extension spring systems affect how the door lifts and how much weight it carries. Adding a window adds a little weight, and a door that is already out of balance can strain the opener and springs.
Watch out: Cutting a panel without checking the spring balance and reinforcement can lead to a door that is hard to lift or unsafe to operate. Have the door inspected first if you are not sure.
Choosing Window Size, Shape, and Placement
Think about how much light you want and where the window will sit. Windows placed at eye level give the best view into the yard and the most daylight. Higher placement can keep the view more private. Keep the window clear of the lift hardware and the track.
Common shapes include rectangles, arches, and carriage-style grids. Match the shape to your home's style. Keep the window size reasonable relative to the panel so the panel keeps its strength.
Here is a quick summary of the main window choices to weigh before you buy a kit.
| Choice | Option | Key point |
|---|---|---|
| Placement | Eye level | Best daylight and yard view |
| Placement | Higher up | Keeps the view more private |
| Shape | Rectangle, arch, carriage-style grid | Match your home's style |
| Size | Reasonable relative to panel | Keeps the panel strong |
Tools, Materials, and a Garage Door Window Kit
A garage door window kit usually includes the window frame, glass or acrylic insert, and mounting hardware. Some kits are designed for specific panel sizes, so match the kit to your door before you buy.
Typical tools for this job include:
- Tape measure and marker
- Drill with bits suited to steel or wood
- Jigsaw or hole saw, depending on the panel material
- Clamps and a straightedge
- Safety glasses and work gloves
Plan your work area and move your vehicles out of the way. Work on a stable surface and keep the door secured while you cut.
How to Install Garage Door Window Inserts, Step by Step
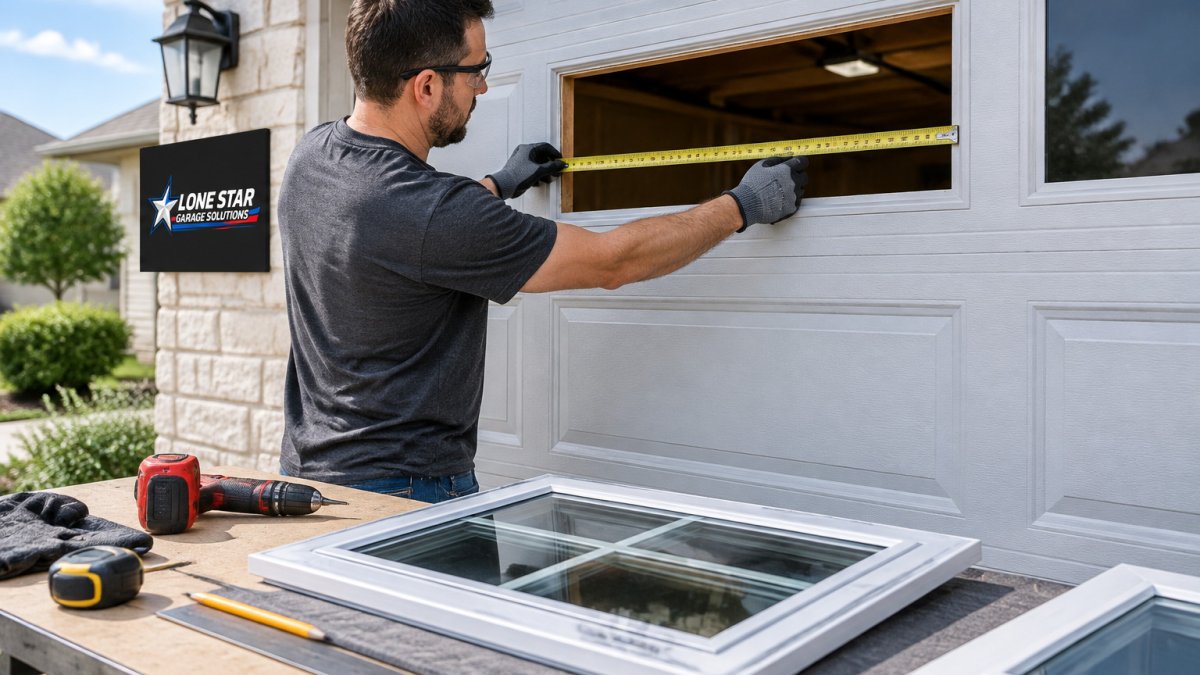
- Measure the panel and opening. Check that the window opening fits inside the panel with room for the frame. Mark the cut lines. Measure twice, a panel cut too wide cannot be undone, and a replacement panel often costs more than the kit.
- Secure the door. Close the door, unplug the opener, and use clamps to hold the panel steady. Disconnect the opener arm from the door so the door cannot move while you work.
- Cut the opening. Drill pilot holes at the corners, then cut along your marked lines with a jigsaw or hole saw suited to the panel material. Cut slowly on steel to avoid distorting the panel; cut from the inside face on wood to reduce splintering on the exterior.
- Reinforce the panel. Add support around the opening so the panel stays rigid. This is the step most DIY guides skip. A backer plate, a frame with a wide flange, or a manufacturer-supplied reinforcement bracket spreads the load and keeps the panel from flexing as the door cycles.
- Install the window frame. Fit the frame into the opening and fasten it with screws at the marked holes. Do not over-tighten, over-torquing distorts the panel and can crack the frame.
- Set the insert. Place the glass or acrylic insert into the frame and secure it according to the kit directions. Acrylic is lighter and more impact-resistant; glass is more scratch-resistant and holds up better to long-term UV exposure.
- Seal the edges. Add weather seal around the frame to keep out water, drafts, and dust. Seal the cut edge of the panel too, especially on steel and aluminum, to prevent corrosion.
- Test the door. Reconnect the opener and run the door through a full cycle, checking for binding or uneven movement. Listen for rattles and watch for the door drifting or sagging on one side.
Balance, spring, and opener checks after installation
Adding a window changes the door's weight and its weight distribution. A door that was balanced before the retrofit may not be balanced after. After the first full cycle, check the following:
- Balance test. Disconnect the opener and lift the door halfway by hand. A balanced door should stay in place. If it drifts down or up, the spring tension needs adjustment.
- Spring strain. Torsion and extension springs are sized for the door's original weight. A small window kit usually falls within the spring's tolerance, but a large kit or multiple windows may push the door past it.
- Opener load. A strained opener runs hotter and wears faster. If the opener strains, reverses, or stops mid-cycle, stop using it and have the door checked.
- Panel flex. Watch the panel around the new window as the door opens and closes. Visible flex means the reinforcement is insufficient.
Watch out: Spring adjustment is the most dangerous part of any garage door work. Torsion springs are under high tension and can cause serious injury if handled incorrectly. If the balance test fails or the door binds, leave the spring work to a technician.
Expect a DIY project of this kind to take most of a day, longer if this is your first time. If the panel is insulated or the spring setup is unclear, a professional installation is the safer choice.
Garage Door Window Replacement and Long-Term Maintenance
Window inserts need a little care over time. Check the seals each season, especially after storms, and replace any that are cracked or flattened. Tighten fasteners as needed, since the door's movement can loosen them.
If a window cracks or the frame loosens, replace only that part when possible. Keep the spring system and rollers in good shape too, because a balanced door puts less strain on every part attached to it.
Booking Your Garage Door Window Project With Lone Star Garage Solutions
If you want the job done right the first time, Lone Star Garage Solutions can help you decide whether your door is a good candidate. Our team serves New Braunfels and nearby Central Texas communities. Contact us for a quote.
If you are not sure your door can take a window, or you need repairs first, our garage door installation and replacement team in New Braunfels can walk you through your options. For problems like noisy, sagging, or stuck doors, our same-day garage door repair service is a good place to start. Read our guide to garage door window inserts: pros and cons. We also cover nearby towns, so check our garage door service areas around New Braunfels to confirm we serve you.
Frequently Asked Questions
Is it possible to add windows to an existing garage door?
In many cases, yes. Many steel sectional doors are built with a panel opening that accepts a window kit, while some older or heavily insulated doors are not designed for cutouts. Check the door's manufacturer, model, and panel construction before cutting anything. If the door has no provision for windows, a replacement panel or a new door may be the better route. A local garage door company can confirm compatibility from a quick inspection.
Can adding windows weaken a garage door?
It can, if the cutout is made in the wrong place or the panel is not reinforced. Cutting into a door panel changes how it flexes and how it carries weight from the springs. Keep openings within the manufacturer's guidance, respect the reinforcement bars, and avoid cuts near the track rollers or hinges. Because spring tension and balance affect safety, have a technician check the door after the work is finished.
Should I hire a professional to add windows to a garage door?
Many homeowners hire a professional, especially when the door is heavy, the springs are under high tension, or the manufacturer's warranty may be affected by modifications. A pro can confirm compatibility, check spring balance, and handle the cutting and sealing correctly. DIY work is reasonable for a simple insert in a compatible door, but it requires patience, the right tools, and careful attention to safety.
How do you replace a garage door window insert?
Start by removing the window frame or retaining clips, then lift out the old glass or acrylic insert. Clean the opening, check the seal and frame for damage, and fit the new insert with its gasket in place. Secure the frame with the supplied fasteners without overtightening, then check that the window sits flush and seals against weather. If the frame is cracked or warped, replace the whole window kit rather than the insert alone.
Ready to add windows to your garage door? Contact Lone Star Garage Solutions today for a quote and let us help you pick the right window for your home.