 how-to
How to Reset a Garage Door Opener After a Power Outage
Last Updated: October 29, 2026
Quick Summary
To reset garage door opener after a power outage, first confirm the outage is the real problem by checking the breaker, outlet, and safety sensors. Then power-cycle the opener, clear any fault code, re-teach the travel limits, re-pair remotes, and run a full test cycle.
- Check the breaker, outlet, safety sensors, and remote battery before resetting.
- Unplug or turn off the breaker for about 30 seconds, then restore power.
- Re-teach the down limit first, then the up limit, adjusting in small increments.
- Test the safety reverse and photo-eye before considering the reset complete.
- Stop resetting and call a professional if the door is unbalanced or a spring is broken.
Table of Contents
- Why Your Garage Door Opener Stops Working After a Power Outage
- Check Whether the Outage Is the Real Problem
- How to Manually Open a Garage Door During a Power Outage
- How to Reconnect the Garage Door Opener After Pulling the Emergency Release
- Resetting the Opener and Restoring Normal Operation
- Garage Door Opener Backup Battery Troubleshooting
- When to Stop and Call a Professional
- Get Help From Lone Star Garage Solutions
- Frequently Asked Questions
Why Your Garage Door Opener Stops Working After a Power Outage
When the power goes out, your garage door opener loses its electricity and stops responding to the remote or wall button, which is why a reset garage door opener step is often needed once service returns. If the door is stuck open, unsafe, or blocking your car in, you can get emergency garage door repair in New Braunfels right away.
Most openers are designed to run only on household power. Without it, the motor cannot lift or lower the door.
Once power returns, the opener may still act up. Some models need a reset garage door opener procedure before they respond again.
Knowing the difference between a power problem and a settings or hardware fault saves time. Start by checking whether the lights and wall control are working before you assume the opener is broken.
Check Whether the Outage Is the Real Problem
Before you touch the emergency release, confirm what actually failed.
Step 1: Confirm the outage is real. Check whether lights in the kitchen, garage, or nearest room are on.
Step 3: Test the outlet itself. Plug a lamp or phone charger into the outlet the opener uses.
Step 4: Rule out the safety sensors. Look at the two photo-eye lenses near the floor on each side of the door. Wipe them clean, check that nothing (a trash can, a bike, a stored box) is blocking the beam, and confirm the indicator light on each sensor is steady rather than blinking. A misaligned or dirty sensor will stop the door even when the opener has power.
Step 5: Check the remote battery. A remote that sat unused during the outage may simply have a weak battery.
Write down what you find at each step. That record is useful whether you fix the issue yourself or call a technician, because it tells them whether to bring electrical test gear or spring and cable tools.
How to Manually Open a Garage Door During a Power Outage
Manual operation lets you move the door while the opener stays disconnected. Treat the door carefully, because it is heavy and the springs are under tension.
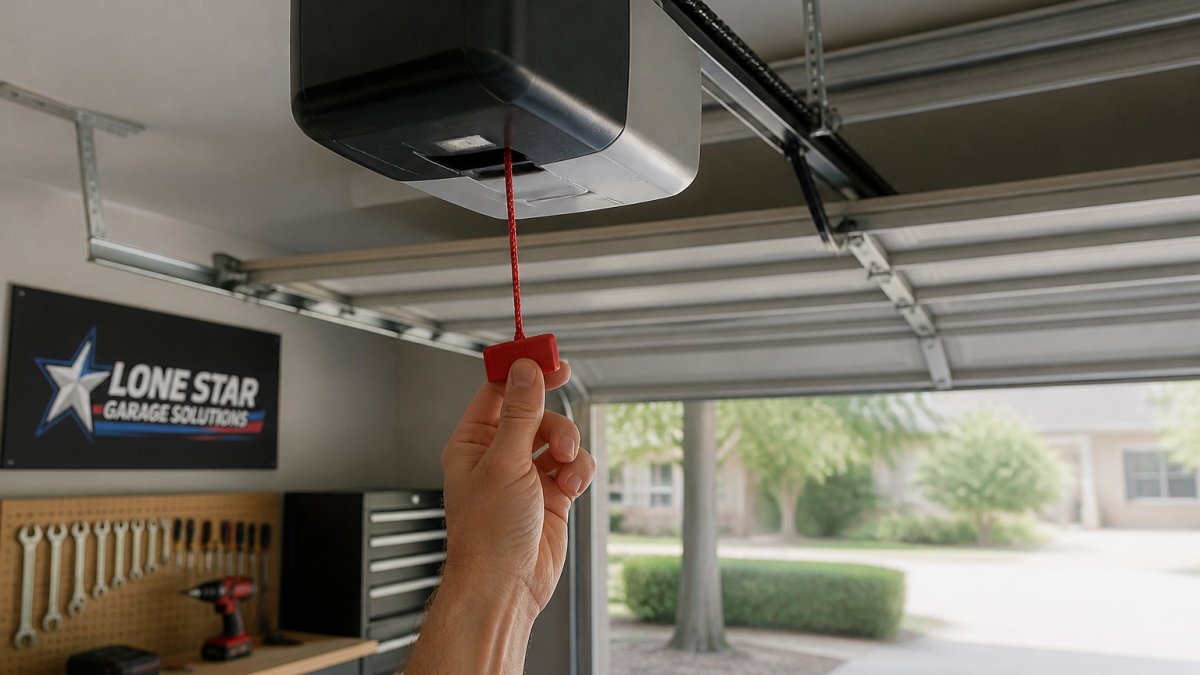
- Make sure the car is out of the way and no one is standing in the door's path.
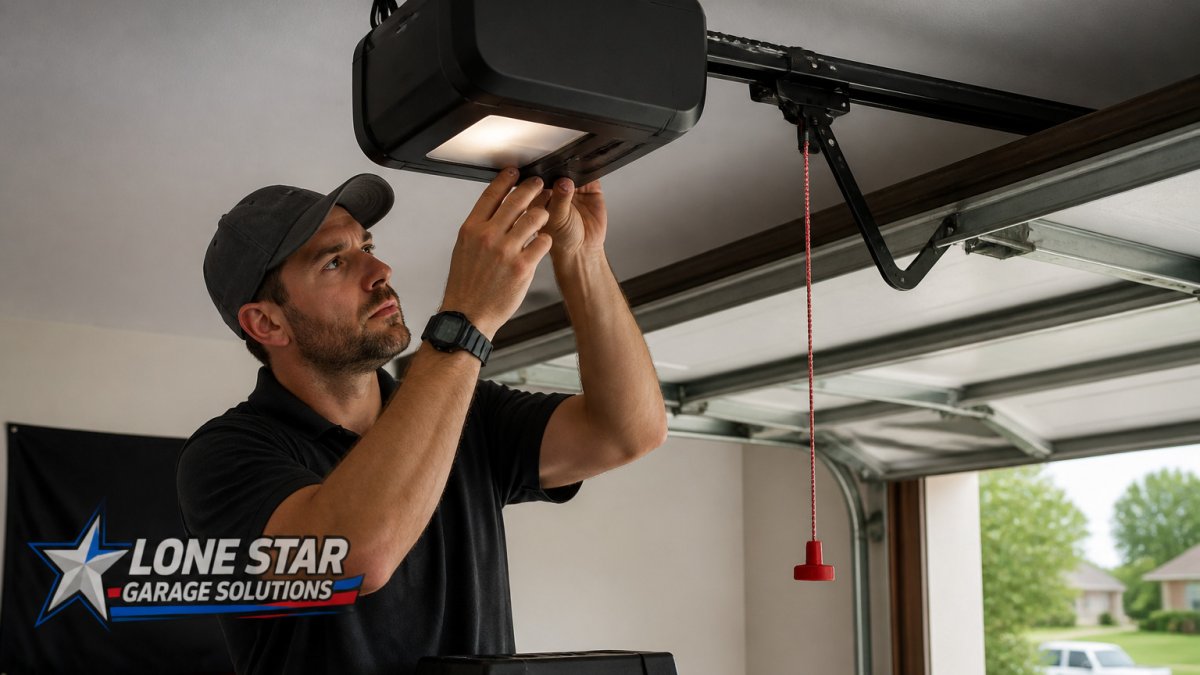
- Locate the red emergency release cord hanging from the opener's trolley.
- Pull the cord straight down, gently. You should hear a click as the trolley disengages from the door.
- Lift the door slowly by hand, using the handle or the bottom edge.
- Keep the door balanced as it moves. If it feels very heavy, stop and do not force it.
Watch out: if the door slams down or feels unevenly heavy, do not keep pushing it.
When you close the door by hand, lower it slowly and watch for any sagging or jerking. A door that stays level and moves smoothly is a good sign that the springs and cables are in working order.
How to Reconnect the Garage Door Opener After Pulling the Emergency Release
Reconnecting the opener is the step most people get wrong. Do it only with the door fully closed, so the trolley can latch onto the door arm again.
- Close the door completely by hand, or make sure it is fully closed.
- Locate the red release cord again.
- Pull the cord toward the opener's rail, or lift the trolley gently until it clicks back into place.
- Pull the cord to lock the trolley in position on the rail. You should feel it engage.
- Restore power to the opener and test it with the wall control.
If the door does not move when you press the button, stop and check the trolley connection again.
Reconnection problems often happen when the door is not fully closed, so check that step first.
Resetting the Opener and Restoring Normal Operation
This is where most generic guides stop at "unplug it and plug it back in." That works for some openers, but a true reset after an outage usually involves three separate things: clearing the opener's memory of the fault, re-teaching the travel limits, and re-pairing the remotes. Treat them as separate steps and you will spend far less time guessing.
Identify your opener model first
Reset procedures vary by manufacturer and model, and pressing the wrong sequence of buttons can put an opener into programming mode you did not intend. Before you change any settings, find the model number on the opener's housing (usually on the back panel or under the light lens) and locate the owner's manual. Most manufacturers publish manuals by model number on their websites.
Step 1: Power-cycle the opener
Unplug the opener from its outlet, or turn off the dedicated breaker, and wait about 30 seconds. Plug it back in or restore the breaker. Watch the opener's lights: many models flash or beep on startup to confirm they have power and are initializing. If the opener does nothing at all after a power cycle, the problem is upstream (outlet, breaker, or wiring) and you should return to the diagnostic section.
Step 2: Clear any fault or error code
Many openers store a fault code after an outage or a forced stop. Check the wall control or the opener's display for a blinking pattern or code. The owner's manual maps each pattern to a cause, such as a sensor obstruction, a travel-limit fault, or a motor overload. Clear the code using the manual's procedure before moving on; a stored fault can make the opener ignore button presses.
Step 3: Re-teach the travel limits
Travel limits tell the opener how far to move the door in each direction. A power loss can erase them, which is why a door opens partway and stops or reverses. The exact button sequence differs by model, but the pattern is consistent:
- Put the opener into limit-setting mode using the wall control or the learn button, per the manual.
- Run the door to the fully closed position and confirm the down limit.
- Run the door to the fully open position and confirm the up limit.
If the door reverses before reaching the floor, the down limit is set too high or the safety sensors are obstructed. If it stops before fully open, the up limit is set too low. Adjust in small increments and retest after each change.
Step 4: Re-pair the remotes and keypad
After a reset, some openers lose their paired remotes and keypad. Re-pair each one using the learn button on the opener and the manufacturer's pairing steps. Pair the wall control first, then the remotes, then any keypad or vehicle-integrated control. Test each one individually so you know which device, if any, failed to pair.
Step 5: Run a full test cycle
With the door closed and the path clear, press the wall control and watch the full cycle. The door should open smoothly to the limit, pause, and close smoothly to the floor without reversing. Test the safety reverse by placing a small object in the door's path during closing; the door should reverse on contact.
If you have the manual in hand and the reset still will not hold, that is the point to bring in a technician. Lone Star Garage Solutions can check the opener, springs, cables, and sensors if a reset keeps failing.
The reset process has three separate parts, and treating them one at a time makes the job much easier to follow.
| Step | What to do | Time or frequency |
|---|---|---|
| Power-cycle the opener | Unplug or turn off the breaker, then restore power | About 30 seconds off |
| Clear fault or error code | Read the blink pattern and follow the manual | Once, before continuing |
| Re-teach travel limits | Set the down limit, then the up limit | Adjust in small increments |
| Re-pair remotes and keypad | Pair the wall control first, then remotes | Test each device separately |
| Run a full test cycle | Check smooth travel, safety reverse, and photo-eye | One full cycle, then verify |
Garage Door Opener Backup Battery Troubleshooting
Some openers have a backup battery that keeps the remote and wall control working during a short outage. If the opener is also overheating, our guide to fixing garage door opener motor heat explains the causes and steps.
Battery backup behavior usually works like this:
- The battery powers the opener's logic and controls, not the full motor
- It may run the door for only a few cycles
- It needs to be replaced when it weakens or stops holding a charge
If your opener has a backup battery and it stops working after an outage, check the battery connection, then replace it if needed. Use the correct battery type listed in the owner's manual.
A weak battery can cause the opener to reset more often than it should. If you notice this, test the battery and replace it before the next storm season.
When to Stop and Call a Professional
Some problems are beyond simple reset steps. Stop and call a professional if you notice any of these:
- The door is very heavy, crooked, or will not stay balanced
- You hear loud snapping or see a broken spring or cable
- The opener runs but the door does not move
Do not try to adjust torsion springs or cables yourself. Our guide to emergency garage door repair steps you can take now covers how to secure the home and get help fast. These parts store a large amount of energy and can cause serious injury. A trained technician can inspect the springs, cables, and opener safely.
Get Help From Lone Star Garage Solutions
If your garage door will not close, will not open, or has stopped working after an outage, Lone Star Garage Solutions can help. We are a locally owned team serving New Braunfels and nearby Central Texas communities.
If you are not sure whether the problem is the opener or the door itself, contact us for a quote. We can help you decide the next step, so you are not left guessing.
Frequently Asked Questions
How do you reset a garage door opener after a power outage?
Most openers reset automatically once power returns. Start by checking that the unit has power and the wall control lights up. If the door still won't respond, make sure the door is fully closed, then press the wall control once. Many openers need the travel limits checked before normal operation resumes. If the opener still fails to respond, consult your owner's manual for the reset button location, which varies by brand and model. If the door reverses or stops midway, check the safety sensors for obstructions and alignment before trying again.
Why is my garage door opener not working after the power came back on?
A garage door opener that doesn't respond after power returns is often still disengaged from the trolley. Look for the red emergency release cord and make sure it is pulled up into the reconnect position if it was used during the outage. Also confirm the photo-eye sensors are aligned and unobstructed, since misaligned sensors can block operation. If the wall control still shows no response, check the breaker and the outlet the opener is plugged into. Persistent problems usually point to a settings or hardware fault that needs a technician's attention.
How do I reconnect my garage door to the opener after using the emergency release?
First, close the door fully by hand so it sits in its closed position. Then pull the red emergency release cord toward the door to disengage the trolley, if it hasn't been pulled already. To reconnect, pull the cord down gently until you hear the trolley click back onto the carriage. Then press the wall control to test the door. Listen and watch for smooth movement. Do not force the door or pull the cord while the door is moving, as this can cause injury or damage.
Do I need to reprogram my garage door remote after a power outage?
Usually not. Remotes and wall controls store their codes in the opener's memory, and most openers keep this memory during a short outage. Some openers, particularly older models or units that lost memory during a longer outage, may need the remotes re-paired. Check your owner's manual for the learn button procedure specific to your model. If the remote stops working but the wall control works, re-pairing the remote is the likely fix.