
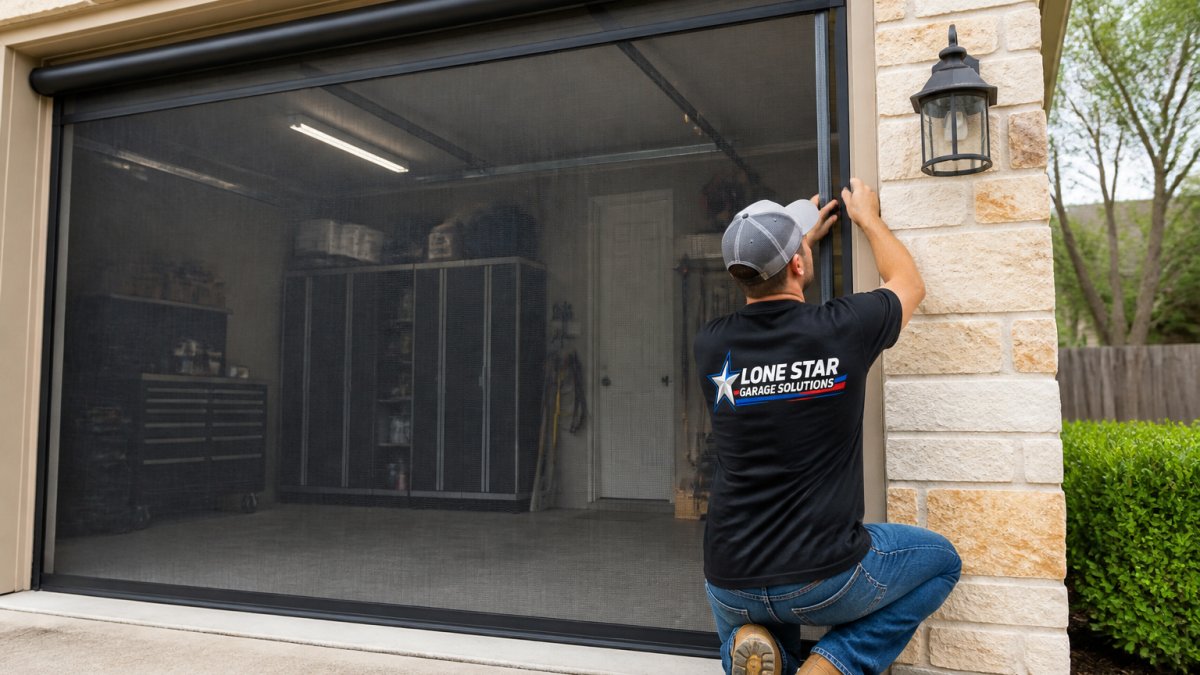
 how-to
Installing Retractable Screens on Old Garage Doors: A Guide
Table of Contents
- Why Installing Retractable Screens on an Old Garage Works
- Assessing Your Old Garage Before You Buy
- Measuring for a Garage Screen the Right Way
- Garage Screen Installation on an Uneven Opening
- Step-by-Step: Mounting the Screen Housing and Tracks
- Motorized Garage Screen Installation and Compatibility
- Garage Screen Door Installation Problems and Fixes
- Weatherproofing, Wind Limits, and DIY vs Professional Install
- Frequently Asked Questions
Last Updated: October 5, 2026
Why Installing Retractable Screens on an Old Garage Works
Installing retractable screens on an old garage is one of the best upgrades for a space with good bones.
At Lone Star Garage Solutions, we install Lifestyle® retractable garage screens across New Braunfels and the surrounding Hill Country. Older garages are our specialty, not a problem we avoid.
Here is what most guides skip: old framing is rarely square, which changes how you mount everything.
Assessing Your Old Garage Before You Buy
Assessment decides whether your project is simple or complicated. Spend 20 minutes with a flashlight and tape measure before ordering anything.
Checking the Door Opening, Trim, and Jambs
Start at the opening. Look for rot, soft wood, and cracks.
- Press a screwdriver into the trim. If it sinks in easily, the wood is failing.
- Check the bottom corners of the jamb, where water sits longest.
- Look for paint that is bubbling or peeling, a sign of trapped moisture.
If the trim crumbles, replace it before mounting anything, a housing bolted to soft wood will sag.
Clearance Around Tracks, Opener, and Hardware
Next, check what is in the way.
- Measure the space between the garage door tracks and the wall.
- Look at where the opener rail and hanging hardware sit.
- Note any conduit, outlets, or shelves near the opening.
The housing needs a flat, level strip above the opening, and side tracks need a clear vertical path down each side. Anything in that path must move or be worked around.
Measuring for a Garage Screen the Right Way
Measuring for a garage screen comes down to three numbers: opening width, opening height, and available mounting surface. Measure each in at least three spots, since old openings are rarely consistent, and record the smallest width and height. Those are your real numbers.
Measurement Worksheet
Use this as a template and fill in every blank before you order:
| Measurement | Where to Take It | Your Number |
|---|---|---|
| Opening width | Top, middle, bottom of the opening | Smallest: ____ |
| Opening height | Left, center, right of the opening | Smallest: ____ |
| Header mounting surface | Flat area above the opening, height and depth | Height: ____ Depth: ____ |
| Side mounting surface | Flat area beside each jamb, width | Left: ____ Right: ____ |
| Diagonal A | Top-left corner to bottom-right corner | ____ |
| Diagonal B | Top-right corner to bottom-left corner | ____ |
| Diagonal difference | Subtract the smaller from the larger | ____ |
| Clearance to door track | Gap between track and wall on each side | Left: ____ Right: ____ |
| Clearance to opener rail | Distance from header to opener rail | ____ |
How Out-of-Square Openings Affect Sizing
A screen is built as a rectangle; an old opening is often a parallelogram. When those shapes meet, something has to give.
- If the diagonals differ by about 1/4 inch or less, a stock-sized screen will usually work with shims and track adjustment.
- If they differ by about 1/4 to 1/2 inch, you may need to order the screen to the larger of the two widths and plan on packing out the narrower side so the tracks stay parallel.
- If they differ by more than about 1/2 inch, a custom-sized screen or framing correction is the safer path. Forcing a stock unit into a badly skewed opening puts constant tension on the mesh and the track rollers.
Tolerances That Matter
Small numbers matter on a garage-sized opening:
- Level of the housing: within about 1/8 inch across the full width. A housing that is off by more than that will make the screen drift to one side as it rolls.
- Plumb of each side track: within about 1/8 inch over the full height. Tracks that lean in or out will rub the mesh.
- Parallel spacing between tracks: the top and bottom gaps should match within about 1/8 inch. If they do not, the screen will bind near one end.
Why the Smallest Number Wins
If the opening is 9 feet at the top and 8 feet 11 inches at the bottom, you have an 8-foot-11-inch opening for sizing. Ordering to the larger number means the screen will not fit at the narrow point; ordering to the smallest means it fits everywhere, with gaps at wider spots closed by shims or track adjustment.
On a garage-sized opening, small measuring errors become big fit problems. If you are unsure, have a professional measure before you order, a wrong-size screen is an expensive mistake no amount of shimming will fix.
Garage Screen Installation on an Uneven Opening
Garage screen installation on an uneven opening is normal in older homes and does not stop the project, it just changes the prep work. Fix the framing first, then mount to a surface that is flat, solid, and square enough for the screen to track cleanly.
Diagnosing How Far Out of Square You Are
Before shimming anything, measure the opening's two diagonals, corner to corner. On a square opening they match; on an old garage they rarely do.
A common rule of thumb: a diagonal difference of about 1/4 inch or less can usually be handled with shims and track adjustment.
Also check the header for level and the jambs for plumb with a 4-foot level, and mark the high and low spots with painter's tape.
Inspecting and Repairing Aged Framing
Old garage framing fails in predictable places:
- Bottom corners of the jambs. This is where water sits longest. Probe with an awl or screwdriver; if it sinks in easily, the wood is soft and needs to be cut out and replaced.
- The header above the opening. Look for sag, cracks, or a bow. A header that has dropped will throw off your housing height.
- Trim and casing. Bubbling paint, dark stains, or a spongy feel all point to moisture damage.
Replace rotted sections with pressure-treated or rot-resistant lumber cut to fit, then fasten with structural screws. Never mount a screen housing over soft wood; it will pull loose within a season.
Shimming and Reinforcing the Mounting Surface
Once the wood is sound, align the mounting plane:
- Shim the header. Use composite or plastic shims behind the housing at each mounting point. Stack them in pairs so they do not slip, and check level after each one.
- Pack out the jambs. If the jamb is recessed or bowed, a furring strip ripped to the right thickness gives the side track a straight, plumb path.
- Reinforce thin or hollow spots. Where the framing is thin, add a backer block behind the mounting point so the screws bite into solid material.
When to Correct the Framing vs. Adapt the Install
Not every old opening needs rebuilding:
- Minor out-of-square (under about 1/4 inch): shim and adjust the tracks.
- Moderate (about 1/4 to 1/2 inch): shim the housing, pack out the jambs, and set the tracks slightly off the jamb to follow the opening.
- Significant (over about 1/2 inch) or any rot: repair or reframe before mounting, or have the opening measured for a custom-sized screen.
The goal is simple: a level housing and tracks that run parallel and plumb. If both are true, the screen rolls smoothly even if the original framing is crooked.
This is also where older garages differ from new construction. New openings are square. Old ones are close enough, and the install adapts, but only after the framing is sound.
Step-by-Step: Mounting the Screen Housing and Tracks
Total Time: 3 to 5 hours for a typical single-bay opening Difficulty: Intermediate
What You'll Need
- Tape measure and level
- Drill with masonry and wood bits
- Mounting clips and hardware (included with most systems)
Removing Old Screen Hardware and Prepping the Surface
Pull any old screen doors, brackets, or hooks first. Fill the old screw holes with wood filler and let them dry.
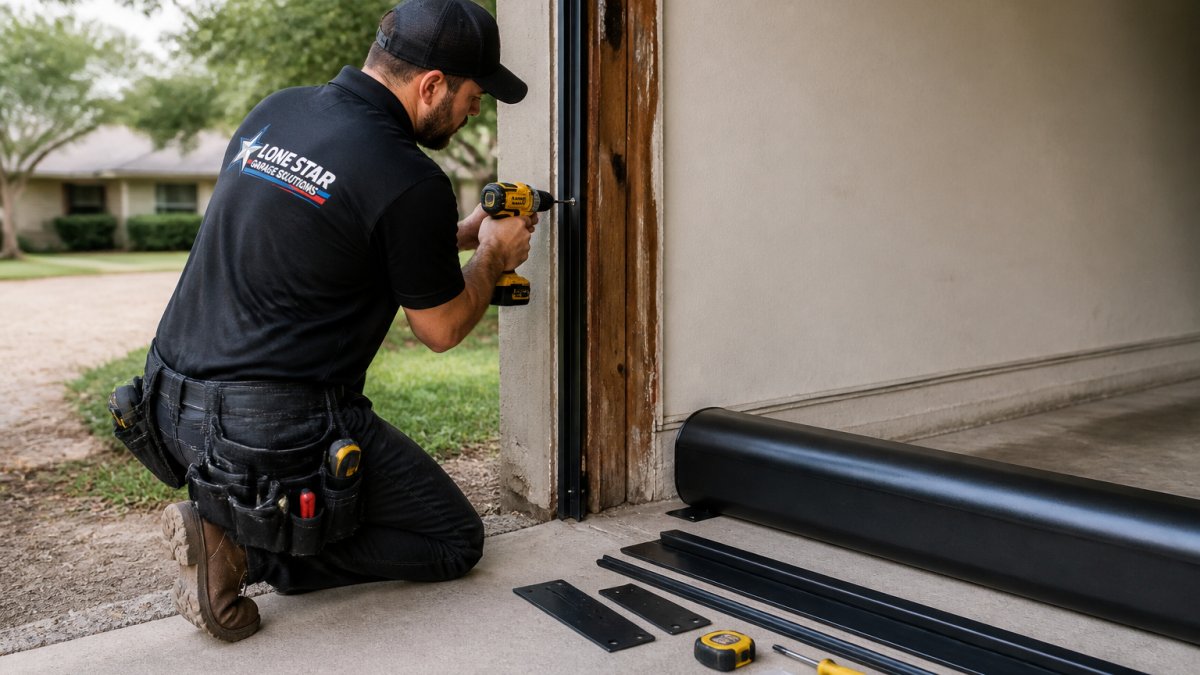
Sand the mounting area smooth, then wipe it clean. A flat, clean surface is what makes the clips sit tight.
Attaching Mounting Clips, Side Tracks, and the Housing
Work in this order:
- Mark the housing height above the opening using your level.
- Attach the mounting clips to the header at each mark.
- Set the housing into the clips and confirm it is level.
- Mount the side tracks down each jamb, checking plumb as you go.
- Secure everything, then test the screen by rolling it up and down.
Expected Result: The screen rolls up and down without binding, and the housing sits flush and level.
Motorized Garage Screen Installation and Compatibility
Motorized garage screen installation adds a power source to the same basic process. The housing, tracks, and mounting are unchanged; the difference is wiring and motor placement.
Before you choose motorized, confirm a few things:
- Is there a nearby outlet, or will an electrician need to run power?
- Does the screen need to work with your existing garage door opener? Most systems run independently.
- Do you want a wall switch, a remote, or both?
Compatibility with your existing garage door and hardware matters here. A motorized screen mounts above the opening, so it needs clear space away from the opener rail and springs.
If electrical work is needed, that is a licensed electrician's job.
Garage Screen Door Installation Problems and Fixes
Garage screen door installation problems usually trace back to one of four causes:
| Problem | Likely Cause | Fix |
|---|---|---|
| Screen drags or binds | Housing not level | Re-shim and re-level the housing |
| Track rubs the screen | Tracks not plumb | Loosen and reset the side tracks |
| Screen sags in the middle | Opening out of square | Adjust track spacing and shim |
| Housing pulls loose | Soft or rotted wood | Replace the wood, then remount |
Most of these show up in the first few cycles. Test the screen several times before you call the job done.
Weatherproofing, Wind Limits, and DIY vs Professional Install
Weatherproofing and wind limits decide whether a garage screen earns its keep or fails early. Retractable screens are built for airflow and shade, not as storm panels.
Keep these limits in mind:
- Roll the screen up before high winds.
- Check the seal at the bottom and sides for gaps.
- Clear drainage paths so water does not pool at the base.
On DIY versus professional, both can work. A handy homeowner with a level and a helper can install a manual screen on a sound opening.
We install Lifestyle® retractable garage screens and Templar motorized patio screens, and we offer flexible financing on qualifying projects.
Frequently Asked Questions
Can you install a retractable screen on an older garage?
Yes, in most cases. Retractable screens mount to the door casing, jamb, or surrounding framing rather than the garage door itself, so an older door does not need to be replaced first. The main requirements are a sound mounting surface and adequate clearance around the tracks and opener. If framing is soft or rotted, repairs come first. A local installer can confirm whether your setup is compatible before you buy.
How do you measure an old garage opening for a retractable screen?
Measure the opening width at the top, middle, and bottom, and the height at both sides and the center. Use the smallest width and height so the screen fits the tightest point. Also note the depth of the trim or jamb where the housing and tracks will mount, and check that the surface is flat enough for mounting clips. Share those numbers with your installer so the screen is built to fit.
What are common problems with retractable garage screens?
Common issues include tracks that bind because the opening is out of square, mesh that sags after wind exposure, and housings mounted to weak or uneven trim that works loose over time. Most of these trace back to installation rather than the screen itself. Checking the mounting surface, shimming low spots, and confirming clearance around the garage door hardware before mounting prevents most callbacks.
Can you use the garage door while a retractable screen is installed?
Yes, that is the point of a retractable design. The screen rolls into its housing when not in use, so the garage door can open and close normally. You do need enough clearance between the screen housing, the door tracks, and the opener rail so nothing rubs. During installation, cycle both the screen and the garage door several times to confirm they operate independently without contact.
An old garage does not have to stay hot, buggy, and closed off. The right retractable screen turns it into usable space, and the install goes smoothly when the mounting surface is sound and the measurements are right. Lone Star Garage Solutions brings authorized Lifestyle® screen installation, honest recommendations, and finishes built for the Texas climate. Get a quote from Lone Star Garage Solutions and turn your old garage into a space you actually want to use.